
Contents
Your Room
Head downstairs and have Amber give you a briefing of your next mission. Your hunter ally, Iris has gone missing while on duty and it’s your job to finish her contract and find her if she still lives. Before you storm off, Amber will give you The Virgin’s Cross, an heirloom of your father. You had better take good care of it!
You won’t be able to leave this time until you speak with each of your allies, so go do that. Maria will give you a “short” lecture and confer upon you a new skill, Purify, which removes the vampirism status from you at the cost of Light Points, or LP. Bridgette will take out the Supplies Chest, which will fully restore your SP at any time and will give you the Quick Travel Widget, a device which allows you to warp back to Noctorna HQ by interacting with Gemmare Statues, the statues seen in places such as outside the Cliffside Library and Mor Town Center.
Upstairs, Maye can be seen reading through Faahlda’s diary, which makes Mila quite nervous. Maye is just playing a prank on her, but it just makes the contents of Mila’s diary more suspicious. You can speak to Faahlda to level up if you haven’t already, but speaking to her is optional. After you’ve spoken with all the ladies, you can leave the HQ.
Exiting the HQ, Mila will have a short monologue that she thinks she should get rid of her diary. You now have the option to go up to Mila’s room and peer into her diary’s dirty secrets. You can read it, destroy it, or ignore it. If you read through it, you will discover Mila’s true intent as a vampire hunter. If you decide to act upon her desires, you will get a bad ending. Destroying the diary instead will give Mila another new LP skill, Brave Soul and unlock Pic 7, 10 and 11 in the Picture Gallery.
You have two choices of what to do next. If you would like to detour from the main story and get a free vampire dust as well as a new skill, a new hunting contract is available in the tavern.
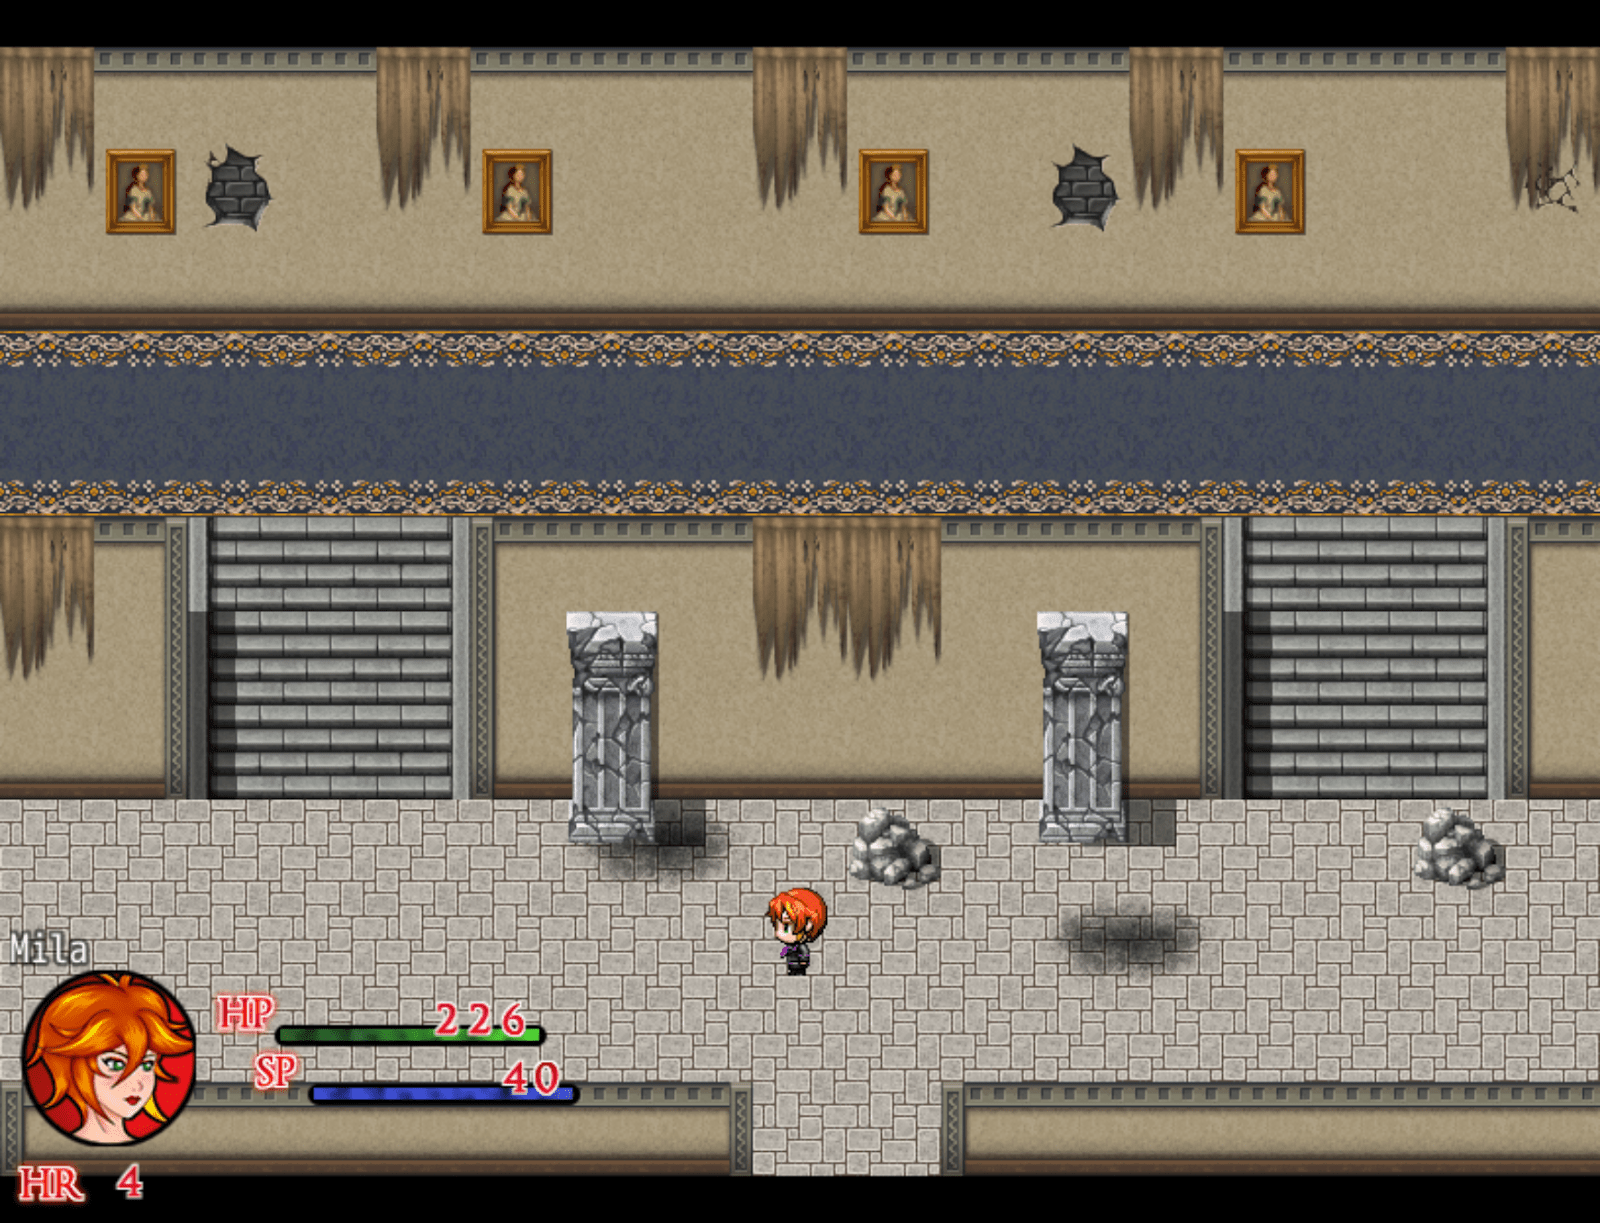
Humilem Woods
Head to Humilem Woods on the west of the map. Immediately as you enter, head up and left to find a Viribus Laurel inside a chest hidden by the trees, then proceed back onto the main path leading west into the forest. You’ll be stopped by a mysterious vampire. After a short cutscene, you’ll be forced into a battle. There is no way to win or surrender, so just keep fruitlessly attacking until you are defeated. After losing, the vampire will rip away your Virgin’s Cross and flee, leaving you to solve the forest’s maze.
The trick to finding your way in the forest is to follow the white flowers that precede each pathway. If you go towards a path with the grass, you’ll end up back at the forest’s entrance. From the first maze room, just go North, West, South, West. You will also notice a change in the audio as you get closer to the forest’s end. Solving this maze will lead you into Humilem Village.
Humilem Village

The villagers here are dedicated to their spiritual leader Viviene, but seem nice enough. Following the path west will lead you to what looks like an old building. The gate to enter is locked so there’s nothing to do here at the moment. Going north instead will lead you to the Waterfall’s Ridge. To the northwest of that map is a chest containing 200 Gold. Following the path to the left will take you to a small shrine that has a hidden chest that contains 300 Gold. If you jump down the well, you will find a Gemmare Statue to warp back to HQ if you need to and a chest with a Supply Cache (S). The way forward is blocked by a man trying to move a rock out of the way, so head back the way you came and enter the Humilem’s tavern, which is the larger building by the village’s entrance.
Inside the Tavern, we find a drunken Iris. Speak with her and she will tell you she’s already completed her contract and is just enjoying some R&R and will leave with you after a few more drinks. When you try to head out of the tavern, you’ll bump into a cute blond who is meeting her friend at the tavern. Go and speak to the girl and you will find out the two of them are hunters who got the idea to complete Iris’ contract before she did. After the chat, leave and head up the path that was originally blocked by the man and the boulder. You may also notice a creepy blond woman different from the other NPCs whose gaze is constantly following you…
Odd…

Following that path will lead you to the cathedral where you can finally meet this Saint Viviene the villager’s are clambering about. While speaking to her, you will offer to investigate that spooky mansion to the west. Although the gate itself is locked, if you return to Waterfall’s Ridge after speaking with Viviene, that creepy girl from earlier has disappeared and in her place is sparkling light. Investigate it to get a Rusted Key. Use this key to open the gate blocking the mansion’s entrance. Before you enter the building, go around the left side of the mansion to grab a Praesidio Laurel from a chest hidden in the back.
Abandoned Manor
As soon as you enter the building, you’ll hear a large crash coming from the room to the west. Head that way to find the two hunters from before. They introduce themselves as Lucy, (blond) and Evelyn (redhead) who were searching the place for the rumored vampires. They will remain there searching the west wing for any clues which leaves you to explore… basically everywhere else.
Go to the second floor’s west wing and you will see an inaccessible chest and the gap where Lucy and Evelyn fell through. If you search the shelves in this room you will find a Holy Water and a Medicinal Herb right next to it. The bedroom on the east side will have a bookshelf that you can search to collect the Encyclopedia Vol. VI. Head down to the first floor and explore the Dining Room to the right. Examine the shelf to the west to get a hidden Salutem Laurel and also be sure to get the Wooden Plank that was left on the floor. You can use that wooden plank to cover the hole that the two hunters fell through to open a chest that contains the Ghost Pendant, an accessory that slightly increases evasion. Back in the Dining Hall, place the encyclopedia we got earlier on the rightmost bookshelf to reveal a hidden staircase leading to the basement.
This basement is none other than a vampire’s lair, but the vampire is nowhere to be found. What you kind find however is another one of those sinister Dark Orbs. Grab it and an ominous light will flash. The orb’s altar will crumble and that’s your cue to get out of that mansion.

Before you leave, we can’t forget about that ominous Dark Chest that you will find in the basement. Open the chest to find a Vampire Cape. If you try and wear this piece of equipment, you’ll have a brief scene of Mila saying that she enjoys how it looks on her. This piece of equipment is part of an ongoing questline. There are 4 pieces of equipment to find in total.
If you try and leave or head towards the room where Lucy and Evelyn are, you’ll hear Lucy screaming in terror in the distance. Enter the room to see that the two are missing and the fireplace is no longer lit. Examine the fireplace to find a crawl space you can enter. Follow the path and you’ll find Lucy in terror as Evelyn is bitten by that creepy girl we saw before who was in fact, a vampire! Who would have guessed?!
The vampire will disappear and there will be a short cutscene. You have no choice but to leave Evelyn behind and Lucy will join your party temporarily.
Humilem Village
As soon as you leave the mansion, Lucy will leave your party to collect her thoughts.Head east back into the village and you’ll see that all the residents of the village are now vampires. After the short scene, Lucy will head towards the cathedral to protect any survivors, which leaves you to find Iris. Unfortunately, the tavern is locked so all that’s left to do is clear out some vampiric villagers.
You need to kill at least 3 Corrupted Villagers before a male vampire villager will exit his home and stand outside, blocking his door. Once you defeat him, you can enter his home to find a woman who has already been drained and remains motionless on the floor. Examine her to get the Bar Key. As you are about to leave, the woman’s vampiric form will rise up and attack you. This corrupted villager has slightly higher stats than the last few villagers but not by much. Beat her and exit the house.
Before you enter the tavern, make sure to save and to be at full health as we are about to fight a mini boss. Entering the tavern you will discover that it’s unfortunately too late for Iris. She has already become a vampire and must be stopped.
- Iris
- Max HP:1050
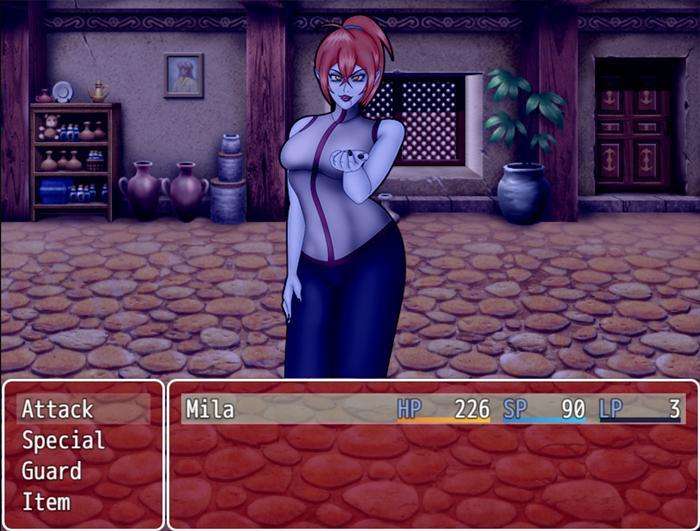
Iris can be tough if you don’t come prepared. She is fast and hits hard. If you are at less than half health, remember to use an item to heal instead of Treat Wound, since items have priority over other actions. If she is too difficult for you at this point, I would recommend coming into this fight with plenty of Liquid Silver to weaken her enough for you to take down. You should have the Axe skill by now, so spam it until you are out of SP. After defeating Iris, she will cry crocodile tears and ask you to help her. If you help her, you will get a bad ending. Deny her, and she will burst into ash. Bye-Bye Iris, we hardly knew you. Once you defeat Iris, You will Unlock Pic 13 and Pic 40 in the Picture Gallery.
For this next part you will want to be at least level 4, so that you can have the Cross skill. You may want to head back towards HQ anyway since you now have two Vampire Fangs in your inventory, enough to raise your level. Be sure to restore your SP and grab some more items in town if you need to, then head towards the chapel. Right before you enter the chapel however,
You’ll be stopped by a horde of Corrupted Villagers. You will be fighting off 4 Corrupted Villagers at once in this battle. Use your Cross skill to hit all of them in one attack and keep doing it until they are all dead. They don’t hit hard. The only thing to worry about in this battle is if one of them manages to land a bite on you. Once you beat them, heal up, restore SP with any Supply Caches you are carrying, and save. We are about to fight the chapter’s major boss.
The cathedral looks a lot more fleshy than the last time we visited it! Viviene has Lucy under mind control, leaving her as a helpless puppet. You’ve arrived just in time to prevent Viviene from performing a ritual that would turn her into one of the village’s corrupted residents, but Viviene does offer you the choice to join the ritual instead of fighting her. If you agree to the ritual, there is an extended ending where you play as Viviene’s servant. Refuse to take part in the ritual and the boss battle commences.
- Viviene
- Max HP: Form 1: 1650
- Max HP: Form 2: 1400
- Max HP: Form 3: 1100
- Max HP: Form 4: 1000
Viviene is a multiphase boss fight. Despite her high HP count per form, she doesn’t really have that much health… Let me explain. When each of Viviene’s forms loses a certain percentage of HP, she will lose one of her wriggling tentacles and shift to her next form. Additionally, she will automatically become weakened for each tentacle you slash off. In her final form, Viviene will be left fighting alone and severely weakened. While in this form, she is more likely to land a more accurately placed bite on you. Her tentacles can ensnare you and prevent you from taking action, but her attack stat isn’t very high. Bring healing items just to be safe. Losing to Viviene will give you a different Bad Ending than accepting to take part in the ritual from earlier.
The battle is over and Viviene is defeated, but not before she tries to make Lucy kill you instead! Miraculously, Lucy breaks through Viviene’s control and stakes her, putting an end to this cult leader. The cathedral returns to its original state and Lucy and Mila return to HQ.
A few days pass and Mila mourns Iris’ death. Lucy comes over and hands Iris’ pay for completing her contract and the two mourn the friends they’ve lost. After this scene, speak with Amber in her room upstairs inside Noctorna HQ. She wants you to return to the Cliffside Library and see if you can find any research documents on the Dark Orb that Faye had on her. After speaking with Amber, you will unlock Pic 12-16 and Pic 82-85 in your Picture Gallery. You can now access the eastern half of the overworld by following the road if you wish, there are some items that can be obtained by exploring them.
Abelleth Village

This humble village houses the grim tradition of sacrificing young women to their guardian for prosperity’s sake. It is also home to two important locations, the Silver Mine to the north of the village, which will sell you Silver Ore for 10,000 Gold a pop. To the southeast of the city, you’ll find the Hoarder’s Paradise, a place to sell any of your unwanted items. To the right of this pawn shop is also a chest with a free Silver Ore! You can also enter the village leader’s office, but without an appointment, you won’t be able to speak with them. Seems like they are getting chewed out by someone in there already anyway. Before you leave, be sure to grab a cup of Sunlite Tea, a healing item which permanently raises your attack by 1! Be sure to speak to the blond NPC McCall who will give you a Salutem Laurel. Lastly, speak with the woman overlooking the graves outside. She will tell you that the graves are actually empty and belong to the women who were sacrificed to the village’s guardian, whose bodies were never recovered.She’s concerned that there will soon be another grave planted here and wishes there was something she could do. Speaking with this woman will unlock the Blood Temple contract in Mor Town’s tavern!
Besilly Cathedral

Outside of this cathedral, walk around to the right side to find a chest containing a Silver Ore.
You can enter the cathedral to speak with some NPCs if you like, but there is nothing left to collect here for now. We will be revisiting this location when you accept the Fallen Friends and Unholy Vows contract
The Rotten Grove
This is an expansive and maze-like forest with a couple of collectibles to get and some vampires to slay if you would like to earn some extra gold and Vampire Dust. Aside from that, there isn’t much to do in this area unless you are doing one of the sidequests or contracts. Right by the entrance is a chest in plain sight containing 300 Gold. In the same area, if you follow the road north, then head right towards the trees, you’ll notice there’s a wooden chest obscured by the trees. Open the chest to get a Celeritas Laurel.
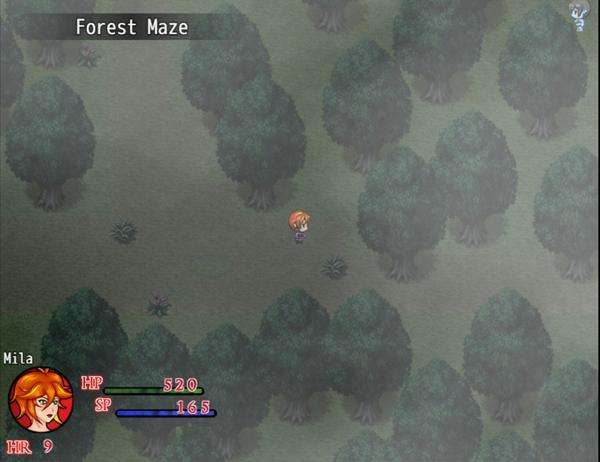
If you go to the area to the west of the entrance, you will be in an old looking graveyard with some ghouls you can fight if you like. There is also a chest containing 60 Gold you can grab. From the entrance, if you follow the road heading east, you will enter the Forest Maze. This area is easy to get lost in and introduces a new enemy type, the Nosferatu. These monstrous looking vampires are resistant to physical attacks and smashing attacks like the Axe, but are weak to piercing attacks, like Knife and Dagger. They can also use sharp claws to cause the bleeding status, which will make you lose a slight bit of health each turn until you cure it with a Tourniquet.
There are two chests in this area.The first is another dark chest is found in front of a large tree which is near the center point of the forest. Inside, you will find Vampire Boots. Just northwest of there is another chest containing a Silver Ore. There are 4 paths that lead to other areas in the Forest Maze. One at the northwest edge of the map, another just to the right of that path, a third path to the west, and a fourth path heading south.
Following the first path to the northwest edge leads us to a dead end, although we can see there is a cliff above us and there is a chest to the right which has a Supply Cache (S). The path to the right of the first one leads to an area with a few enemies and a broken bridge to the left. From the Forest Maze if you follow the area leading south, you’ll find a small grotto with a few paths, but containing no enemies. Nothing to do here for now. Finally is the path leading east, which has a small pond, bridges to cross and vines to climb, eventually leading you into the other side of the area with the broken bridge.
In this area, you’ll see some vines you can climb to put you on a small cliff heading west. Following the path north from here will lead you to a cavern. This is the entrance to the Blood Temple, the home of Humiilem Village’s guardian, however it is locked and there is no way to enter at the moment. There is a Gemmare Statue by the cave’s entrance to quickly leave the area. Lastly, you can follow the river leading east to return to the last area with the pond and wooden bridges. Keep following the path leading south, then where the path seemingly ends, keep moving south, hugging the edge of the water to reach a green chest with a Goddess Pendant, an accessory that raises LP regeneration in battle.
Ilbrooke
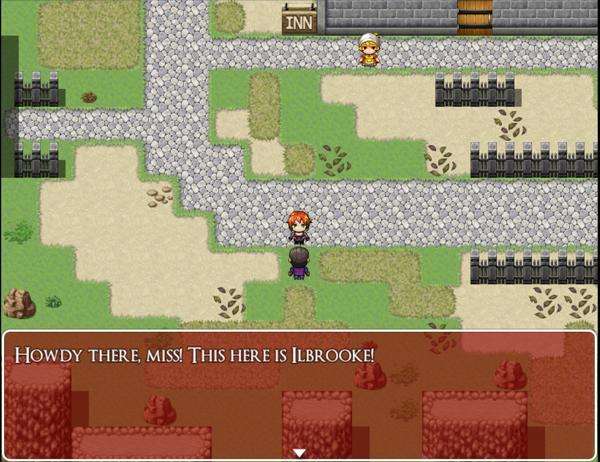
This gloomy village has a few things to nab, so let’s go over them quickly. In the southwest corner, there is a chest containing a Mysterious Dress. Check all of the barrels in town and you will come across 290 Gold, 30 Gold, and a Tourniquet is in the barrel next to the locked shack. You can explore the caves to the north if you like. The last place of interest here is the Ilbrooke Inn and Diner. Here you can purchase food items that will provide temporary stats buffs and healing. These are always useful before major battles so stock up if you have the gold. Be sure to check the barrels here to collect a Liquid Silver and a Moonlite Tea.There are two NPCs you can meet here who will give you items for speaking with them. Sesame Seed can be found on the second floor of the Ilbrooke Inn. He’s looking for his room keys, which can be found inside a vase downstairs. After you return the keys, follow him inside where he will give you one of three teas to take! Chris Leiterman will appear after you clear contract 10 and will give you a Celeritas Laurel for talking to him.. You can also step outside to find Robert Häupel, who will give you a Salutem Laurel for chatting with him.
Cliffside Library Revist
This next part will change based on if you killed the Bookworm in Chapter 1.
If you killed the Bookworm…
Head towards the room where you fought Faye back in Chapter 1. Once you reach the dungeon, you’ll notice that the cage door is open and the women inside are nowhere to be seen. Head inside the prison cell to find a Gemmare Statue and a wooden chest containing a Supply Cache (S). As you try to enter the room where you fought Faye, you’ll be stopped by the women who were inside of the cage, who have turned into ghouls. You’ll have to fight the 3 of them at once, but they are much easier than the villager horde we faced before. Defeat them and continue into the lab room and examine the book laying on the ground where Faye once stood to collect the Research Notes. Once you’ve got those notes, use the Gemmare Statue inside the prison cell to warp back to HQ.
If you spared the Bookworm…

The Cliffside Library is now all neat and tidy. The dragon statue leading underground is also back in its original place, but if you try and input the code, it won’t budge an inch. What gives? (If you didn’t collect the Silver Ore in the underground, the same chest will appear next to the dragon statue). To the left half of the library, you’ll find the Bookworm vampire you spared in Chapter 1. Speak with her and she will be shocked to see you. It turns out she busted the dragon statue, which is why it can no longer move. Thankfully, she was thoughtful enough to clean through Faye’s old things. She leaves you for a moment and returns to hand you the Research Notes.
Although this vampire is timid and oddly tame, Mila is skeptical and attempts to slay her. You will have the option to slay her or spare her for a second time. If you do slay her, you will merely get a Vampire Dust for your actions and you permanently will miss out on collecting an image for your Picture Gallery. Choose to spare her instead and she will tell you how she has never tasted human blood before, choosing to die instead of hurting another human and that her previous actions were influenced by the one who turned her, the Librarian. She will then drop a bookmark to the floor as she sobs. The bookmark is actually a Photograph of the Bookworm before she was turned. She no longer wants it so you decide to take it with you. She says she won’t hurt anyone and will remain at the library and you’ve got the Research Notes you came for. Head outside and use the Gemmare Statue to the left to warp back to HQ.
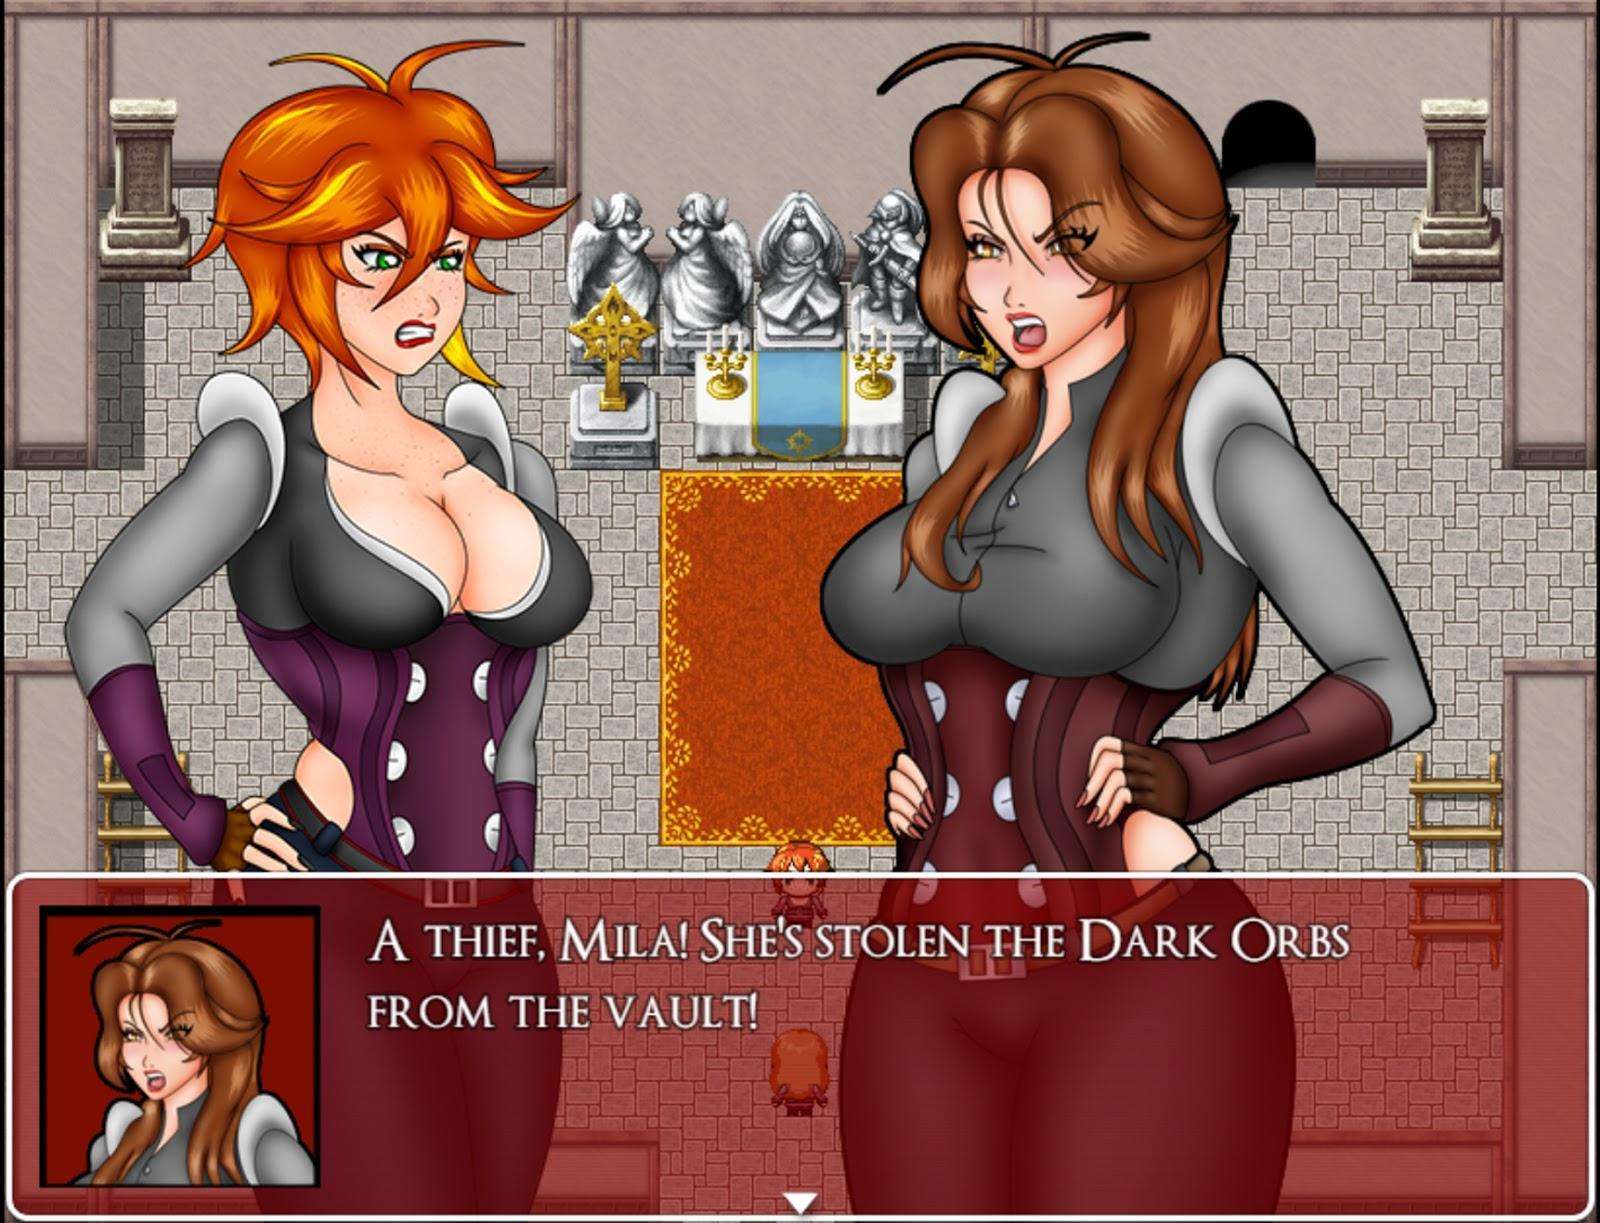
Now that you have the Research Notes, enter HQ to find a panicking Amber. Seems like someone stole both of the Dark Orbs we had collected so far. A certain someone with silver hair… The two of you need to get those stolen items back somehow, but for now you will return to your room to reflect on all that has happened so far…
This marks the end of Chapter 2. More contracts will be unlocked for you to play once you have completed this section. Once you are back in control of Mila, speak with Maria to receive a free Moonlite Tea, which permanently raises your Agility stat by 1 and heals you a little. When you are ready to begin the next chapter, simply rest in Mila’s bed.


Be the first to comment