
Your Room
Chapter 4 begins with a dream sequence. Once you watch it, you’ll be back in control of Mila. Head downstairs to watch another cutscene and when you are in control again, you will have to speak with all the Noctorna members before you are allowed to leave. Bridgette will upgrade your Quick Travel Widget into an “Enhanced Q.T.W” which allows you to warp to any other warp point you have visited previously. Handy! Speaking with Maria will unlock a powerful Light Skill called Magna Flash, which damages all enemies with light damage, but also heals you and removes vampirism. You won’t be able to use it for a few turns after, but unlike the Summon Aeriseth Skill (which I recommended you unlock for this chapter) it can be used multiple times per battle. Lastly, speak with Maye and Faahlda. If you haven’t destroyed your diary to unlock the Brave Soul skill yet, a short scene will play out and you will unlock it along with Pic 7, 10 and 11 in the Picture Gallery. Once you have finished speaking to everyone, head to Mor Town.

Speak with Amber for a short scene where she explains her anxieties a bit. Both she and Lucy will then head back to Noctorna HQ, leaving you to look for some contract work inside the Mor Tavern.
If you haven’t done many contracts up until this point, use this time to complete some!
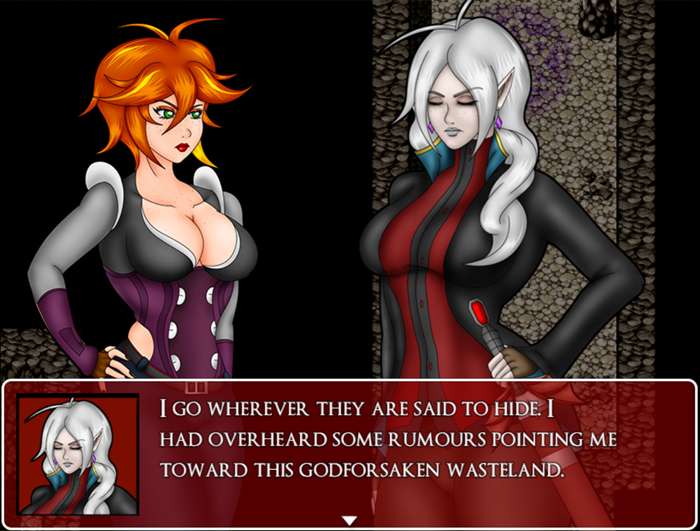
Inside the contracts room will be a woman dressed in a cloak. Speak with her and she introduces herself as Morgan Gerver. She’s looking for Mila’s dad to complete a contract, but he’s, well, dead. Mila then says she’s his daughter and so Morgan allows her to complete the contract in his stead. She asks you to meet her at her home in the southeast corner of the Lingrave Wastelands, south of Mor Town. Take Morgan’s advice and purchase some Antitoxin from the shop in town if you don’t have any already. The Wastelands are filled with poisonous bogs you can fall into and lamias with toxic bites.
If you haven’t already, while you’re in town check out the Mayor’s office in South Mor Town. After returning from your adventure in Fallholt, this building is opened to you and inside you will find a chest with a Prism Core, a valuable item that permanently increases LP generation in battle!
Once you’re ready, head south towards the Wastelands.
Lingrave Wastelands
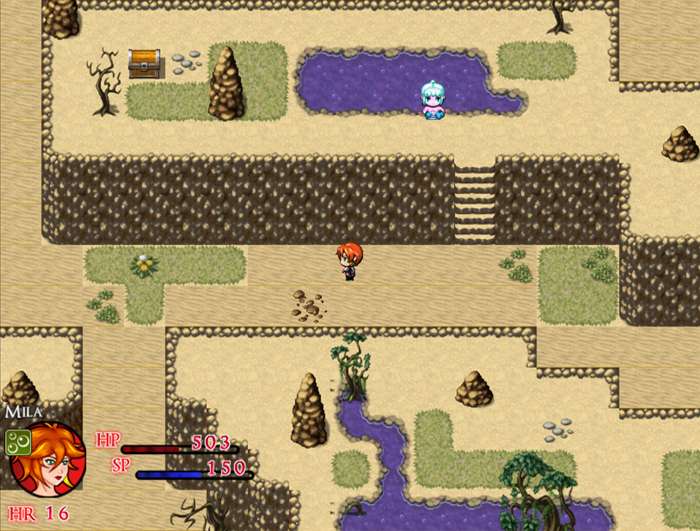
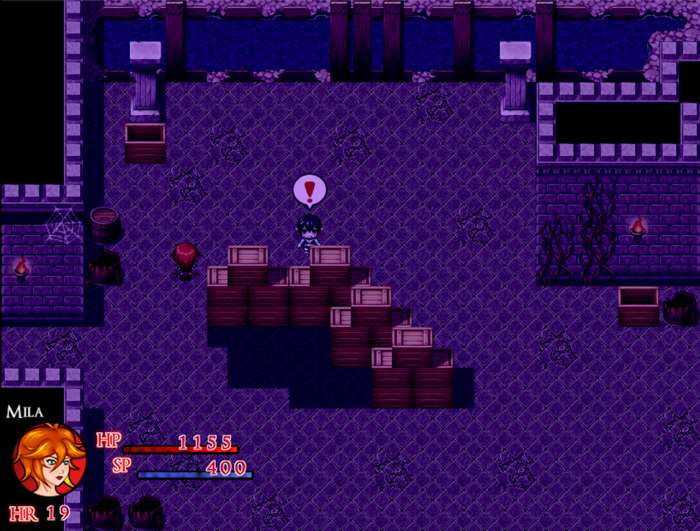
The Wasteland area is separated by a series of tunnels. While the outdoor areas have Toxic Lamias, the caverns are filled with strong Ghouls and Nachzehrer. There are also some optional items to find in this section. In the outdoor areas, you can explore to find: 2x Antitoxin (in separate chests), Supply Cache (M), Sapphire Shard, Viribus Laurel, Praesidio Laurel, 600 Gold, Elixir, Ruby, Jade Shard and a Silver Ore. Head towards the southeast corner of this section leading east to find Morgan’s house. Enter the house and go to the second floor. Explore if you wish, but there are no items to grab here. Leave the house and Mila will want to check elsewhere for Morgan and her father’s whereabouts. Enter the cave behind the house.
This cave is a bit bigger than the last few cave sections. There are no items to pickup here, but there is a diary you can stumble upon in the southwest corner, if you are curious. To continue, make your way to the northeast corner of the cave that will lead to several cutscenes that play back-to-back.
After the cutscenes, you will be placed back at the entrance of the cave, so you’ll have to traverse it once again. Once you reach the light at the end of the cave, you will reach the Lingrave Clinic, and would you look at that! There’s a Gemmare Statue we can use to warp back here! As counterproductive as it might seem, warp back to Noctorna HQ to pick up some handy items. Rinaldo’s Vault is now open and the loot inside the chests, pots, and barrels can be collected now. In the vault you will find a Viribus Laurel, an Ammo Pouch, Silver Ore, and an invaluable Moonstone. You can augment a piece of your equipment with Moonstone to add additional augment slots to it! Be sure to save it for a great piece of armor with few slots! Be sure to restock your SP while you’re here and then warp back to the Lingrave Clinic’s exterior to continue. Be sure to also collect the Sapphire found behind the Clinic before entering.
Lingrave Clinic
Enter the clinic and you will find that it’s oddly quiet. There’s not a soul around and little as far as exploration. Most doors, as you will come to find out, are locked. In the lobby area, you can find a Vulnerary inside of a locker. The center room of this floor is an outdoor area that is polluted with poison. There is another Antitoxin for you to collect here. The only other areas open to us are on this floor’s east wing. In the easternmost bathroom, you can collect 40 gold in the locker.
You may want to save before proceeding any further, as the next section will lock you away from accessing supplies and may pose a challenge depending on how prepared you are at this point.
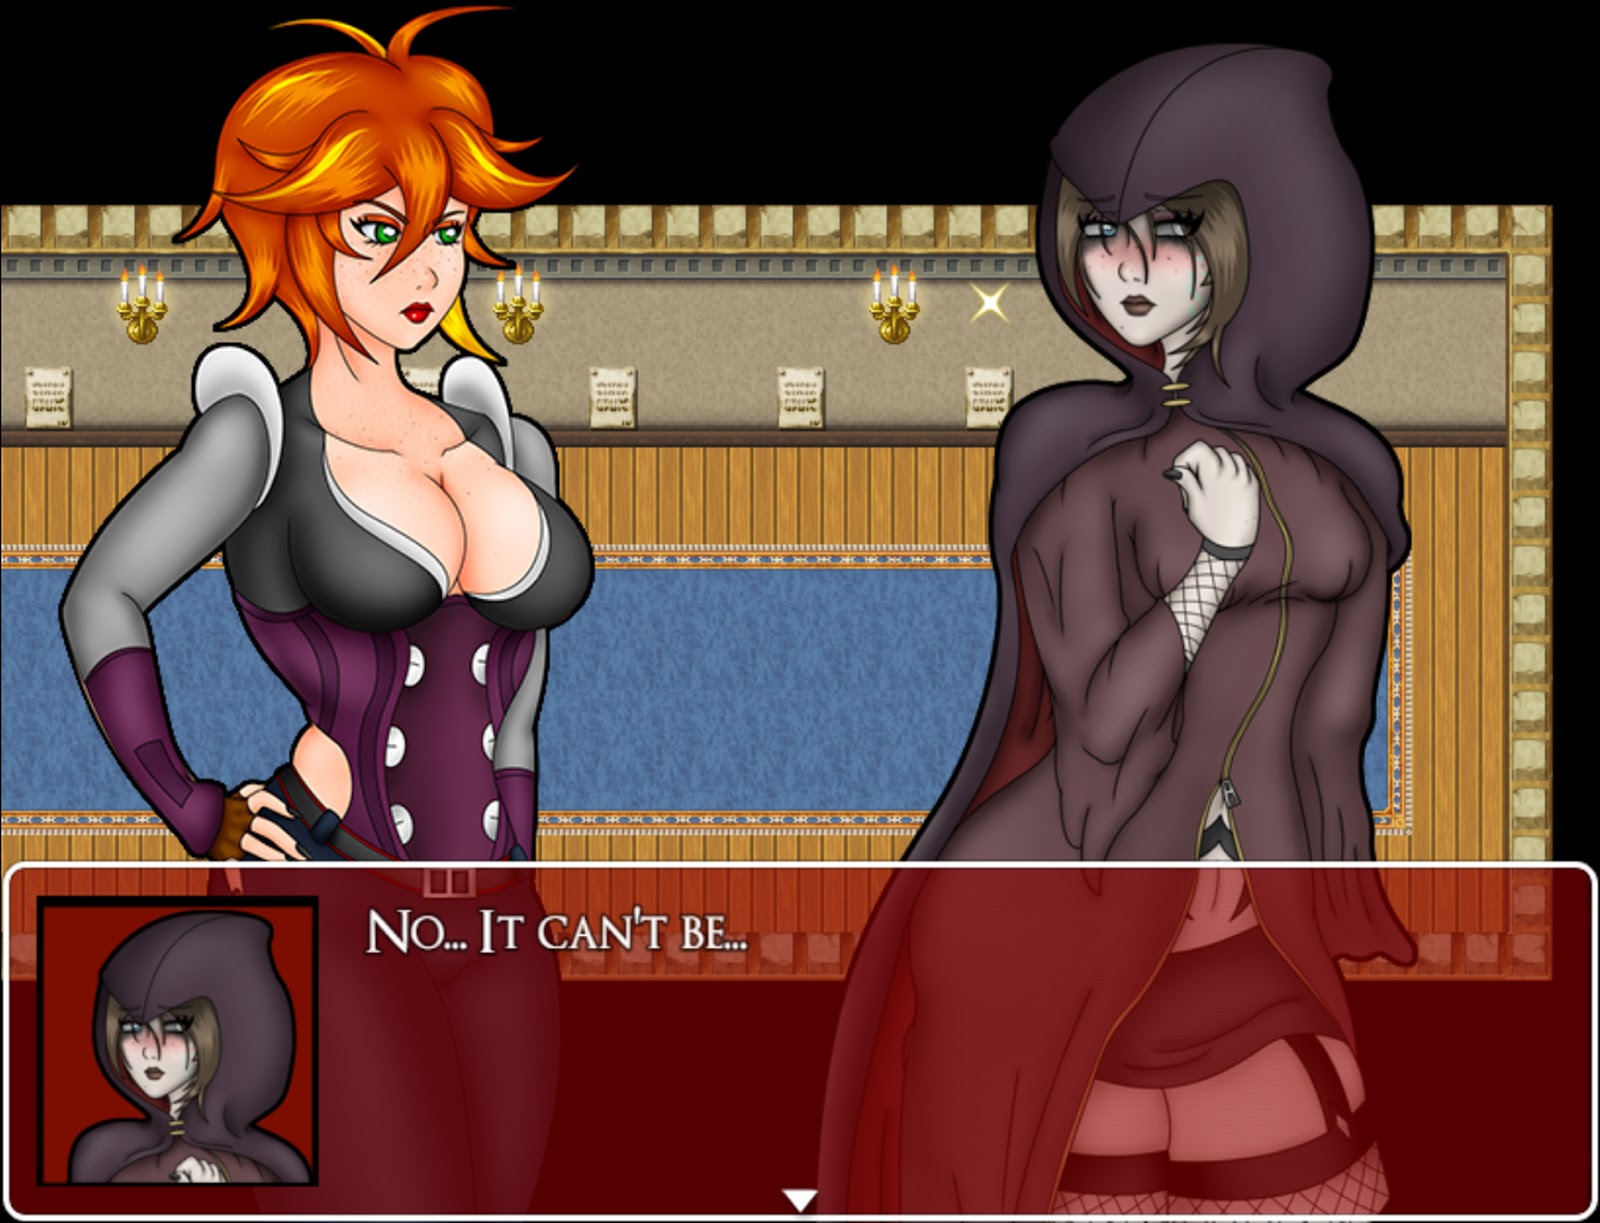
Finally, the room in the northeast corner has a chest that upon opening will trigger a trap door that Mila will fall through. After a cutscene where Morgan reveals herself as a villain, reveals the name of the Dark Orbs as Malispheres, and relays some other exposition, you will have to find a way to escape your cell and hide before Morgan returns.
You will have 80 seconds to escape before Morgan returns, leading to a bad ending.
To escape, check the large pot for a Rusty Pin. There is another one in your cell, however it will break upon using it. Once the cell door is open the wardrobe on the left to enter and hide inside it. Morgan will return, but instead of looking for you, she will send her cute new vampire friend to hunt you down. That can’t be good… Now your goal is to escape from this dungeon, which may not be so easy with your whip gone. You’ll need to either avoid enemies’ line of sight or attack them with your limited and weakened skills. Either way you decide to go, head upstairs from this prison room.
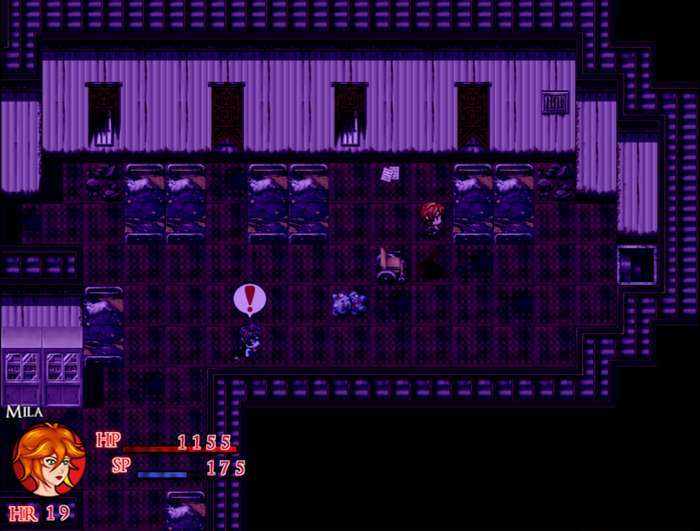
This next room has a bunch of doors you can enter and learn how enemies interact with you in this section. They have a movement route that they will traverse. If they spot you, they will dart towards you and force you into battle. The Nachzehrer in particular can be dangerous as they can act twice and often inflict the vampirism state on Mila. If you are spotted, you may be able to escape by hiding behind some cover, but you are usually better off leaving the room entirely. If you escape from battle, you will knock the enemy back a bit and stun them for about a second. Use that time to get away or heal if you have to.
In the northwestern room, you can find a Supply Cache (s), a Tourniquet, and 160 Gold inside of the pots. There is also a chest locked behind some iron bars. Make a mental note of that. The northernmost room has nothing but a locked door at the end of it. The northeastern room has another Supply Cache (s) inside of a barrel. The room to the west is locked, so the last room we can enter is the one to the south. None of the barrels carry items. There is only one thing to collect here: The Raven Key, found in a dark corner behind some boxes. Collecting the key will make the music dim and the sound of a door opening will play. If you walk the way you came you will find the vampire that is looking for you: Ashe. Stay hidden behind the boxes and she will eventually walk away. Before moving, wait until you hear the door close. If she spots you, she will chase you through to the center room and back if you run back in. Either hide behind some objects or flee to one of the other rooms and wait for the music to return to normal. That is your cue that it’s all clear.Attempting to fight off Ashe is pointless and she will defeat you in a few rounds unless you run away, resulting in a bad ending.
Once you’ve eluded Ashe, you can open the door to the west with the Raven Key. This will lead you to another hall separated by a bridge over water. In this room, check the barrels to collect a Medicinal Herb, Supply Cache (s), Jade Shard, and a Salutem Laurel. To the southwest, there is a room with a briefcase we cannot reach and a gold chest. We will return here later. There is also another room to the east which is locked by a simple lockpick. The rooms we can enter are the rooms directly north and northeast. The north room has vases with one of them containing Holy Water. The west side of this room is also separated by a wall we cannot cross yet. Return to the main hall and head east to find another hall with more rooms we can enter. There is a Ghoul and Nachzehrer you can fight here. All of the rooms on the southside can be opened and unlock doors from before that were previously locked. You can enter the rooms to the north if you like, but let’s head all the way east first and collect a necessary item.
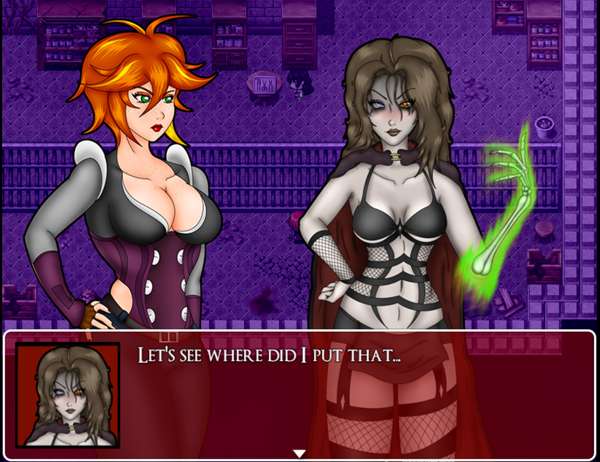
This room is another prison. In the very last cell, you will find a vampire who you will recognize from an older bad ending. This vampiress, Gabrielle will assist Mila in exchange for releasing her from the prison cell. Accept her proposal and she will hand you the Hairpin Lockpick, essentially our second key of this dungeon. Once you’ve collected this, backtrack to the hall with the bridge as there is a door on the east side of the room we can now open with the lockpick. Inside is that chest that was blocked off before and it contains a Blaze Guard. This head armor will be useful during the upcoming boss fight.
Return to the hallway that connects to the prison. The room on the northwest contains nothing of note but a broken floor that we cannot cross. The room in the north center is filled with more poisonous tiles as well as a new enemy, the Vampire Lamia. These enemies are stronger than regular lamias but defeating them guarantees a Vampire Fang drop, so I recommend defeating her at some point. The room to the northeast has a few ghouls in it as well as an iron gate that can now be opened with the Hairpin Lockpick we obtained. Don’t forget to check the pots for another Supply Cache (s) and 260 Gold. Head to the next room through the iron gate. The next hallway is linear and separated by short walls you can use to avoid line of sight with the enemies. Head up the stairs on the west side of the room, but not before collecting the Supply Cache (s) in the barrel next to you..
This floor is VERY dark. The power is out on this floor and you won’t be able to do much until you fix it. Luckily, the room to restore the power is the first room on the east side. In this room, simply flip the switch to get the lights and the power back on. As soon as you do that, Ashe will enter and unless you want to be chased by her, hide behind the boxes to the south of the room, stay out of her sight, and run past her when her back is turned. From that point, Ashe will begin patrolling the hall searching for you, making exploring a bit tricky. You will want to press the blue switch which will open 2 doors for you in that room (North and South respectively). They’ll only stay open for a few seconds so run to them quickly. Starting with the southernmost room, you’ll have to complete a simple switch puzzle which will unlock all of the red doors across the entire dungeon. Be sure to collect the Supply Cache (s), Amethyst Shard and Amethyst inside the cells. Return to the previous room and enter the other Blue Door.
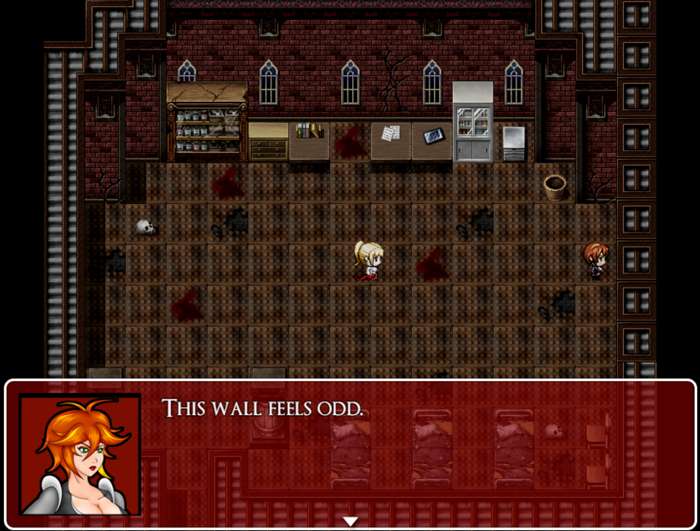
In this room, the wall is jutting out slightly from the left. Check the shelves to find a Vulnerary then unlock the south gate with the lockpick. Go around the coffins and you will find a switch that causes the jutting wall to shift to the right. This will block off the way you entered this room, but it will also move aside a wall in the room to the west of this, allowing access to another optional treasure. Before we leave this room, it should be noted that there is a booby-trapped perfume by the coffins that will infect Mila with vampirism. Exit through the west door by the coffins and the door will lock behind you. Then enter the room to the left of the blue button and in that room you can open the chest containing the Valkyrie Ring. Head up the stairs and you will be back on the main floor. There is a unique ghoul you can fight in this room which will drop a vampire dust upon defeat. With the red button pressed, you will be able to open the door to the south of this room, leading you back to a room we explored when we first entered the clinic.
You may think you can just walk out the front door and escape, but no. The way out is locked and what’s worse, Ashe is now patrolling this floor. There is now also a Vampire Lamia you can fight in the poison garden at the center of this floor. In the west wing of this floor, you can use your Raven Key to unlock a door that leads to a water drainage room. Push the blue button, then leave. The room to the south can also be unlocked with the lockpick. Leading to a room with a Nachzehrer and a chest containing a Praesidio Laurel. In the east wing, return to the room where you first triggered the chest trap. We can also open the door at the back of the room with the lockpick. This leads to a hallway where you can collect a Mighty Tea from a chest and is also another way down to the floor below.
Return to the main hall of this floor and take any of the corridors north to reach the stairs leading to the second floor. In the west wing, there is another door which can be unlocked with your lockpick. Inside are a bunch of chests rife with goodies including:a Vulnerary, Supply Cache (L), Holy Water, Antitoxin, and most importantly of all, your whip!
(If you collected the Critical Whip at this point, it will also return to your inventory but will not be automatically equipped!)
In the east wing of the second floor, open the red door leading to a room with a Vampire Lamia. Defeat her and the wall to the right will move aside revealing a hidden passage. Enter the room to find another unique ghoul. This ghoul has some different attacks and can weaken Mila severely if she is hit by it. The ghoul will drop another vampire dust upon defeat, so beat him or skip him, but be sure to open the chest containing the Beetle Key. This key has two uses. Let’s get the first use back on the west wing of the first floor. There is a room with a ghoul and a chest containing a Sacred Elixir. We need to head back downstairs, specifically to the room with the blue button where Ashe was patrolling. On the west side of this room is a door originally locked by the red switch. Enter the room and head downstairs through the hall, unlocking the door at the end with your beetle key.
We are back inside the room that was blocked off earlier. Check the pots for 2 Medicinal Herbs, defeat the ghoul if you like, then knock over the chest using your whip. It contains the Snake Key, which we need to free Gabrielle! You can also unlock the door on the east side of the room for a shortcut back to the bridge room. Before heading towards Gabrielle, return to the room with the Gold Chest and the briefcase. If you drained the water earlier, the briefcase here can be reached and it contains a very valuable item: the Skeleton Lexicon! This item unlocks all gold chests. You can use it right now on the gold chest to unlock an Ethereal Scarf!
Return to the prison cell where Gabrielle is, but before speaking with her, unlock the other cell doors to pick up a Diamond Shard and a Viribus Laurel. Speaking to Gabrielle will trigger another cutscene and Gabrielle will hand over the Pentagram Key. The cutscene will then lock you away from the prison cell and unlock Pic 86 in your Picture gallery. With the Pentagram key in hand, you can unlock the boss room on the first floor as well as the exit to the dungeon if you need to resupply or level up before the fight. You can also use this time to go gold chest hunting with your fancy new Skeleton Lexicon!
Once you are prepared, head for the east wing of the first floor to find the room locked with the Pentagram Key. Unlock it and a scene will play, forcing you into a fight with a stronger Nachzehrer, Dr. Gerver.
- Dr. Gerver
- Max HP:1500
Once Morgan’s dad is defeated, you’ll have a moment to heal up in the menus, but once you walk towards Morgan, your fight against her will begin.
- Morgan
- Max HP:6700
Morgan starts the fight by summoning 2 ghouls to her side. While these ghouls are weak, they can inflict annoying status conditions on Mila, so your best bet is to clear them off with Cross skills as quickly as possible. Every other turn, Morgan will spend her turn resummoning the ghouls back, so use that to your advantage. Aside from summoning ghouls, Morgan mainly attacks with magical attacks, meaning high defense won’t do much good. Her attacks are mostly fire based, so equip the Blaze Guard you (hopefully) picked up earlier and Crystal Plate armor if you have it. Axe Skills also do extra damage against her and once she’s defeated, the other ghouls will fall immediately. Morgan shouldn’t give you much trouble if you have the equipment to deal with her. If you lose (or surrender) during this fight, there is an extended Bad Ending.
If you want an easy Crystal Plate, you can get one for free from the Gold Chest in the Mayor’s Office in Mor Town.
After the fight, Morgan will retreat to the room behind her and you will unlock Pic 87, 88, and 89
In your Picture Gallery. Heal up and restock your supplies if you have to, because this chapter isn’t over yet. We still have one more battle to get through! Following Morgan into the room will trigger a cutscene. Gabrielle enters the room through the window and bites Morgan. She then shares exposition with Mila explaining that she is Faye’s Mistress and has been looking for you all this time unknowingly. After this scene, the fight begins.
- Gabrielle
- Max HP:13,000
Gabrielle’s fight plays similarly to Morgan’s except that she has a silver weakness and her stats are inflated. If you still have that fire resistant equipment on, you’re in good shape as Gabrielle will bombard you with flame attacks that occasionally debilitate Mila with a burn. Be wary of your LP in this fight as Gabrielle can use the tease skill to unexpectedly drop your LP to 0 at a moment’s notice. As a vampire, Gabrielle occasionally bites too, but it is less frequent than the other skills mentioned. After a few turns Gabrielle will summon ghouls to her side and buff herself with the power of the Dark Orb. This will happen every few turns for the rest of the battle, if you defeat her reinforcements. If you lose (or surrender) during this fight, there is an extended Bad Ending.
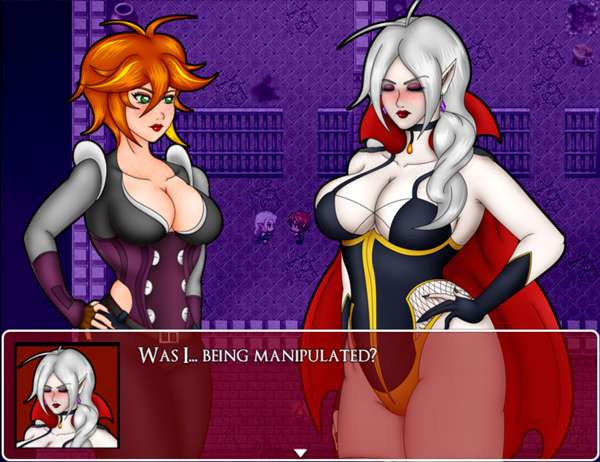
Once she goes down, Mila will collect the final Malisphere as well as Ashe’s sword “Nothung ”. She returns to Ashe who is no longer under mind control and explains the situation. Ashe will want to return to Noctorna HQ immediately and joins your party. You will then unlock Pic 90 and 91 in your Picture Gallery. After, you can choose to quickly head back to the surface or you can have Ashe help you clean up any leftover enemies still in the dungeon. While she is in your party, she will heal your wounds and revive you if you fall in battle. She also makes quick work of any enemy.you come across. You won’t be able to explore areas outside those of chapter 4, but she is useful for the time that you have her. Head to Noctorna HQ to continue.
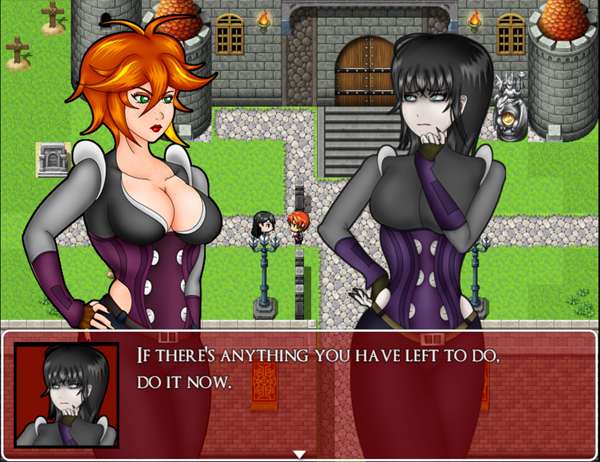
Back home, you’ll be prompted to speak with a very worried Faahlda. Ashe will leave your party and Faahlda will explain that if there are any other things you need to do, do them now.
This is a point of no return for the Vampire Route specifically. After the following scene, this route will become inaccessible unless you load a previous save.
Head downstairs to Rinaldo’s vault and watch the final cutscene of chapter 4.


Be the first to comment