
Contents
- Viviene’s Servant
- Serenity Sleuth
- The Heart of the Library
- Dubious Ingredients
- Becoming a Member of the Blood Temple
- A Simple Delivery
- The Cursed Attire
- A Major Wager
- Turned into a Bunny Succubus
- Slime Cave
- Turned into a Slime Girl
- Fenrir Glade
- Records of a Bookworm
- Bianca’s Request
- Bianca’s Second Request
- Bianca’s Final Request
- The Rocky Relationship
- A Bat out of Her Element
- The Fall of Noctorna
- The Forbidden Memory
Viviene’s Servant
- Availability: Accept Viviene’s proposal to become a vampire before her fight in Chapter 2
- Recommended Hunter Level: N/A
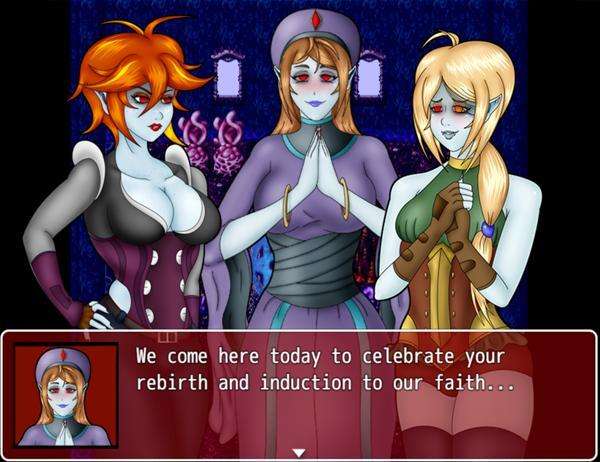
Despite all logical reasons, Mila surrenders to Viviene to become a servant of Satan. Viviene puts Mila under her control and receives the Eternal Blessing. Mila and Lucy will be turned into vampires and receive orders from their new mistress, Viviene to turn the members of Noctorna into blood thirsty vampires as well. After the scene, Mila’s memory will be wiped and will remain in her human form, thinking herself to be human as well.
Once you are back in control of Mila, you will notice that her sprite is a bit different, sporting red eyes! Keep in mind that since this is an extended Bad Ending, progress in the main story is no longer possible, so take caution to not save over your main file. All of your equipment will be taken away as well and your stats will reflect that of a vampire’s. You can re-enter the corrupted church and speak with Viviene and Lucy for a few interesting chats with them. If you leave south and enter the village, you will see all of the corrupted villagers return. You can share some nice conversations with your new brothers and sisters here too.
Your goal is to head to Noctorna HQ, but there’s lots of other scenes you can do before heading over there! You can begin by visiting Mor Town for a few extra scenes. It’s nighttime and most everyone has returned home. The only ones still awake are guards in Mor Town Center and shady folk in Mor Town East. Mila will comment on the scent of blood in the air making her thirsty. The guards here are on patrol and will not make suitable targets, however, if you enter the farm house here, a lone guard will be on break and you can visit him for a quick bite.
In Mor Town East, Mila can speak to a shady looking man there who will offer to make her into a prostitute. If you accept his proposal, Mila will be given three options for a tattoo design that will mark her as a prostitute. Your choice will be reflected in certain scenes, with some characters commenting on what they think of the design.
After you’ve made your decision, you can enter the eastern shelter where there are two clients willing to pay for a fun time with Mila. You can return any gold you make to Viviene for a short scene, but there is no ultimate reward for bringing her loads of gold! Oh well! On the second floor of the eastern shelter, you will also find Sybille, a character from an earlier contract! She will only appear if she is still alive at the end of her quest or if you have never accepted her quest. You can make her into a vampire, if you like.
As a vampire, the eastern part of the overworld is open for you to explore and there are scenes to be found in just about every area. You can find a scene outside of Besilly Cathedral, Abelleth Village, Ilbrooke, and Dorian Manor. All of these are areas you can explore more fully after completing chapter 2. (Be aware that the scene in Dorian Manor will end with it’s own bad ending). Once you are done exploring, return to Noctorna HQ.
In Noctorna HQ, you will attempt to take Maria as your first meal, however she will brandish a crucifix to force you to keep your distance, you must find another way. If you approach any of the holy items found throughout the HQ, Mila will turn away in fear. You can visit Mila’s room for a few interactables, particularly the mirror which will have Mila view her nonexistent reflection. Go to the bedrooms of the other Noctorna Hunters. Once you have bitten them, they will be subservient to you, obeying your commands. Once you have them both under your control, you can return to Maria, where your new slaves will rip away Maria’s crucifix, allowing you to get in close for a good bite. Once this scene is over, you will be returned to the Title Screen.
Serenity Sleuth
- Availability: After the start of Chapter 2
- Recommended Hunter Level: N/A
East Mor Town has a bad reputation for all of the shady things that go on there. One of it’s biggest issues is its drug problem. After you start Chapter 2, you can speak with a Serenity Dealer who will offer you to try the illegal drug. Should you refuse, you can speak with any of the guards to report him, ending his trafficking and unlocking you Pic 94 and 95 in the Picture Gallery. However, you can also accept the drug and use it if you prefer. Using Serenity has mostly negative effects. Mila will gain the “High” state, which raises her agility slightly, although her stats will be negatively impacted. Additionally, continued use of the drug will eventually cause Mila to become an addict. Her sprite will change and occasional detrimental effects will occur during battle. Purchasing more Serenity while an addict will cause the dealer to sell the drug at a higher price and attempting to purchase Serenity while an addict and without sufficient funds to pay for it will result in a bad ending. This ending can also be viewed during Viviene’s extended ending for slight changes in the art and dialogue. Mila should never speak with a guard while carrying Serenity in her inventory. She will be arrested and charged for possession. Should she fail to pay for bail, it will result in a game over. One last thing of note is that you can also reverse the effects of Serenity by visiting either Besilly Cathedral or Fallholt Cathedral. For 1500 Gold, the negative effects will be removed, however your permanent stat losses will not be restored and Mila will temporarily suffer from the “withdrawal” state. It will disappear on its own after some time has passed.
The Heart of the Library
- Availability: Only if you did not slay the Bookworm at any point.
- Recommended Hunter Level: N/A
Return to Mor Town Center and you will find 2 guards speaking to an old lady. After she has yelled at them, the guards will leave and allow you to speak with her. It turns out this woman is the Bookworm’s grandmother. The Bookworm’s actual name is Bianca. Mila shows the Photograph she received from her and the old woman allows you to follow her into her house. When you speak with the old woman again, she asks if you can deliver something to Bianca if you run into her again. She gives you the Ragged Book. Return to the Cliffside Library and give this item to Bianca. She will be unable to control her emotions and give you a peek underneath her sweater. The two of you make up and it seems that this vampire girl will not cause you any trouble for the time being. Mila learns to be merciful and will gain the Light Skill, Compassionate Soul along with Pic 17 in your Picture Gallery. Compassionate Soul is an incredibly useful Light Skill which raises the amount of HP you regain at the end of each turn! Also, if you didn’t grab the Treat Wound skill while the library was still a mess, speak with Bianca one more time and she will teach it to you.
Dubious Ingredients
- Availability: At the end of Chapter 2
- Recommended Hunter Level: N/A
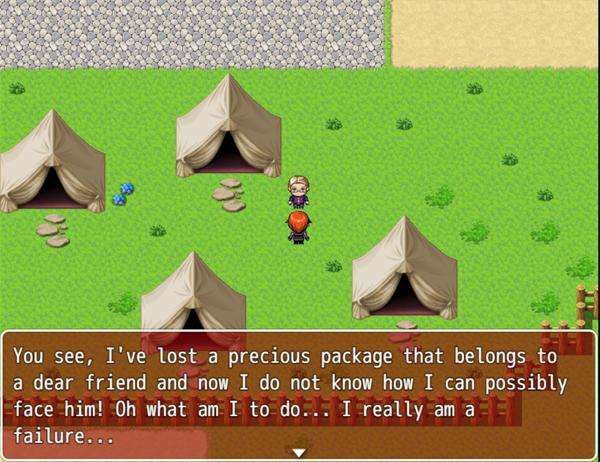
Go to Mor Town South and speak with a man standing by some tents. This incredibly odd man wants you to go to the Rotten Grove and collect some mushrooms for him. If you accept his request he will give you half of your reward immediately which is 200 Gold. Simply go to the Forest Maze section of the Rotten Grove and look around for Wild Mushrooms growing on the ground. There are several of these growing in this area and you must collect 5 of them to continue.There is no required combat during this quest, but if this is your first time visiting this area, be cautious of the durable Nosferatu enemies.
Return to South Mor Town and speak with the client again to see him jumping for joy at your return. He will pay you the remaining 200 Gold he owes you and task you with delivering one last item for him. He will give you the Package and tell you to deliver it to someone waiting for you at the abandoned house in East Mor Town. Mila will protest this, but the man’s demeanor will change to something much more sinister… It seems the choice of what to do with this package is up to you. If you deliver it to the abandoned house, you will get a Bad Ending in which Mila is turning into a vampire drug junkie.
Give the package to one of the guards in front of the Mayor’s office instead and they will reward you with a Guardsman’s Pendant as well as unlocking Pic 25-29 in your Picture Gallery.
Becoming a Member of the Blood Temple
- Availability: At the end of Chapter 2, while on the Blood Temple Contract
- Recommended Hunter Level: 11
Before the fight with Astoria and Alexa, they will attempt to seduce you into joining them. If you choose not to resist, the two of them will feed on Mila and turn her into a vampire. After control is returned to you, you will be controlling a naked, vamped Mila. Speak with Alexa and they will tell you that they must all report to their mistress. They will turn into mist and leave you behind to explore the temple as a vampire. You have the option to transform into a bat by selecting the Bat Form skill from the menu. While in the bat form, you will move much faster. If you would like to revert, use the True Form skill. Keep in mind that the Bat Form will use up about half of your SP, so if you revert you won’t be able to turn into a bat again. Make your way through the maze and back into the main halls of the temple. You can interact with all sorts of objects within the temple to get some unique dialogue from Vampire Mila. Once you’ve had your fun, meet up with Astoria and Alexa in the outdoor looking area by the stone slab. You will descend down into the crypt to greet your mistress, Victoria. Once you watch this scene, you will be returned to the Title Screen.
A Simple Delivery
- Availability: After speaking with Dealer in Chapter 3
- Recommended Hunter Level: 50
While the level of this quest is very high, the majority of it can be completed at around HR:10, although you will want to return with a higher level and better skills before facing the main boss. You will be prompted before it’s time to face him, so don’t worry about fighting him accidentally. My personal recommendation is to return to this quest once you have received some important items and skills in Chapter 5.
Return to Dealer at any point after receiving the dagger. He wants you to deliver a proposal to Lord Dorian and hands you 3000 Gold up front just for hearing him out. He does have another reward for you if you accept and return afterward, however. Speak with him and he will hand you the Proposal Letter. With that out of the way, leave Mor Town and head east towards the sea and you will find a castle surrounded by mountains. Cross the bridge leading to the castle. Follow the road and open the gate, which will lead you to the front door of Dorian Manor.
Once inside, you will be greeted by the manor’s maid girl. Dorian is unavailable, but she asks you to join them for dinner and walks toward the room in the east hall. The only room you can explore at the moment is a messy closet which has nothing to see inside. Follow the maid into the dining room and she will serve you a meal. Though the meal is quite good, it turns out the maid is quite hungry too and will transform into a vampire before your eyes.
- Vampire Maid
- Max HP: 1300
The maid doesn’t have anything special up her sleeve. She is just a standard enemy which you should be able to defeat with ease if you are at least level 10. With the maid defeated you will unlock Pic 33 in your Picture Gallery. We can now explore the mansion and get some goodies inside.
Start with the second floor and enter the first room on the left. By checking the wardrobe on the north wall you will find an Elixir. In the second room, you will notice something shining in the wardrobe to the left, although the wardrobe itself is locked and you cannot reach it. The wardrobe above it contains a Viribus Laurel and there is an Ammo Pouch and a Moonlite Tea inside the drawers and wardrobe on the north wall respectively. The last room on the right has 800 Gold in the middle wardrobe on the left wall as well as the last dark chest containing the Vampire Headdress. Head back downstairs and go to the end of the west hallway and you will exit the mansion to find a chest containing 950 Gold. Return to the west hallway and there will be two rooms to the north and south. The south door is locked, so enter the northern room to enter a library with a woman standing by a bookshelf. Speak with the woman to begin a boss fight.
- Genevieve
- Max HP: 1400
Genevieve is the first of Dorian’s brides who excels in magic. Her agility is fairly high, but her physical attack and defense are nothing to write home about. Her most devastating move is her Invoke Fire spell which can hit extremely hard. Keep your HP high at all times so that she doesn’t surprise you with her fire spell and defeat you! When Genevieve is at less than 40% of her health she will use Blood Heal to recover health.
After the fight Genevieve will seemingly turn into ash and disappear, but as you get close to the door, she will reemerge to tease you some more. She wants to introduce you to her Lord, but he is weak and recovering. She asks you to wait in the gallery across the hall for her and even unlocks the door so you can enter. Make sure your HP is at full and proceed into the gallery to the south.
Dorian’s personal gallery is a dim room with all kinds of artsy objects. In the middle of the room is a portrait of a woman you can examine. You will notice that the portrait also has a small keyhole towards the bottom… While looking at this artwork, Dorian’s second bride will surprise you, looking to punish you for entering Dorian’s personal gallery.
- Scarlett
- Max HP: 1650
Scarlett has very high agility and a good amount of attack. Her most devastating attack is her Summon Bats ability which hits multiple times and drains HP. Scarlett can also Wound you to further reduce your HP slowly.
After beating Scarlett, she will tell you to try and open the lock on the portrait if you can and then vanish. We need to find the key hidden somewhere in the mansion. Return to the middle room on the second floor to find a vampire frantically searching through her wardrobes. You’ll notice that the shimmering object in the closet has gone missing too. If you speak with the vampire she’ll ask you to help her look for her lost key. Speak with her a second time and the ditzy vamp will realize you’re actually a human. She’ll ask you a few questions, but regardless of your answers, you’ll have to fight her next.
- Claudia
- Max HP: 2150
This thick vampire has high defense and a lot of HP. She likes to hit you with very accurate bites to drain your health quickly, but she will also waste turns giggling to herself. Claudia has one very exploitable weakness that she will outright tell you if your HP falls below 20%. Her weakness to fire is very high. Spam Fire Bombs on her and you will find her to be an easy adversary. After beating Claudia, she will drop the Elegant Key onto the floor. Use the Elegant Key on the portrait lock to obtain the Master’s Key. This key can be used on the door found on the 3rd floor. You will have to fight the quest’s boss after this door and losing to him before reaching Chapter 5 means following the Vampire route (After reaching chapter 5, this route becomes inaccessible.
- Dorian
- Max HP: 10,000+
Dorian’s first form is a similar fight to that of his brides. His stats are much higher and he will act twice per turn. His Hellfire skill is also a stronger version of Genevieve’s fire based skill. Set up some buffs, like Compassionate Soul and Brave Soul and feel free to use Magna Flash as soon as you need it, since this will be a longer fight. The Dagger skills are the ones you will really want to prioritize using to keep his damage output under control. If you have the Daggerga skill, it provides a different debuff than the Daggera and Dagger skills, which means they can be stacked to debilitate Dorian even further! Once he is weakened use the Bomb skills to lay on the damage. The Bomb’s multi-hit property gives you a high damage output, especially if one of those hits becomes a critical one! Once you have dealt close to 10,000, Dorian will transform into a monstrous beast and the real fight will begin.
- Dorian 2nd
- Max HP: 25,000
Dorian’s second form is beefy. He is resistant to most skill types outside of Fire and Light and is capable of acting up to three times per turn. All of his attacks do a great deal of base damage, even when guarding, so it’s vital that you keep your health high throughout the fight. Setting up multiple buffs is not advised, as Dorian can use a skill which removes all of them. If you have obtained the summon skill from Chapter 5, you will want to use it in this half of the fight. The stat boost and auto-life are the only buff exempt from Dorian’s buff-clearing skill. Dorian’s ultimate attack requires that he charge for a turn before unleashing it. This skill can be telegraphed as he uses it every 5-6 turns. You’ll either need to guard or use the item obtained in chapter 5 to reduce the damage. The bomb and Dagger skills continue to be your main source of damage each round. If you have any Supply Cache (L) on you, this is the fight to use it in.
Once Dorian is defeated and you’ve watched the subsequent scene, return to Dealer to claim the Dawnstone, an item necessary to forge the strongest weapon in the game, the Dawn Bringer!
The Cursed Attire
- Availability: Anytime
- Recommended Hunter Level: N/A
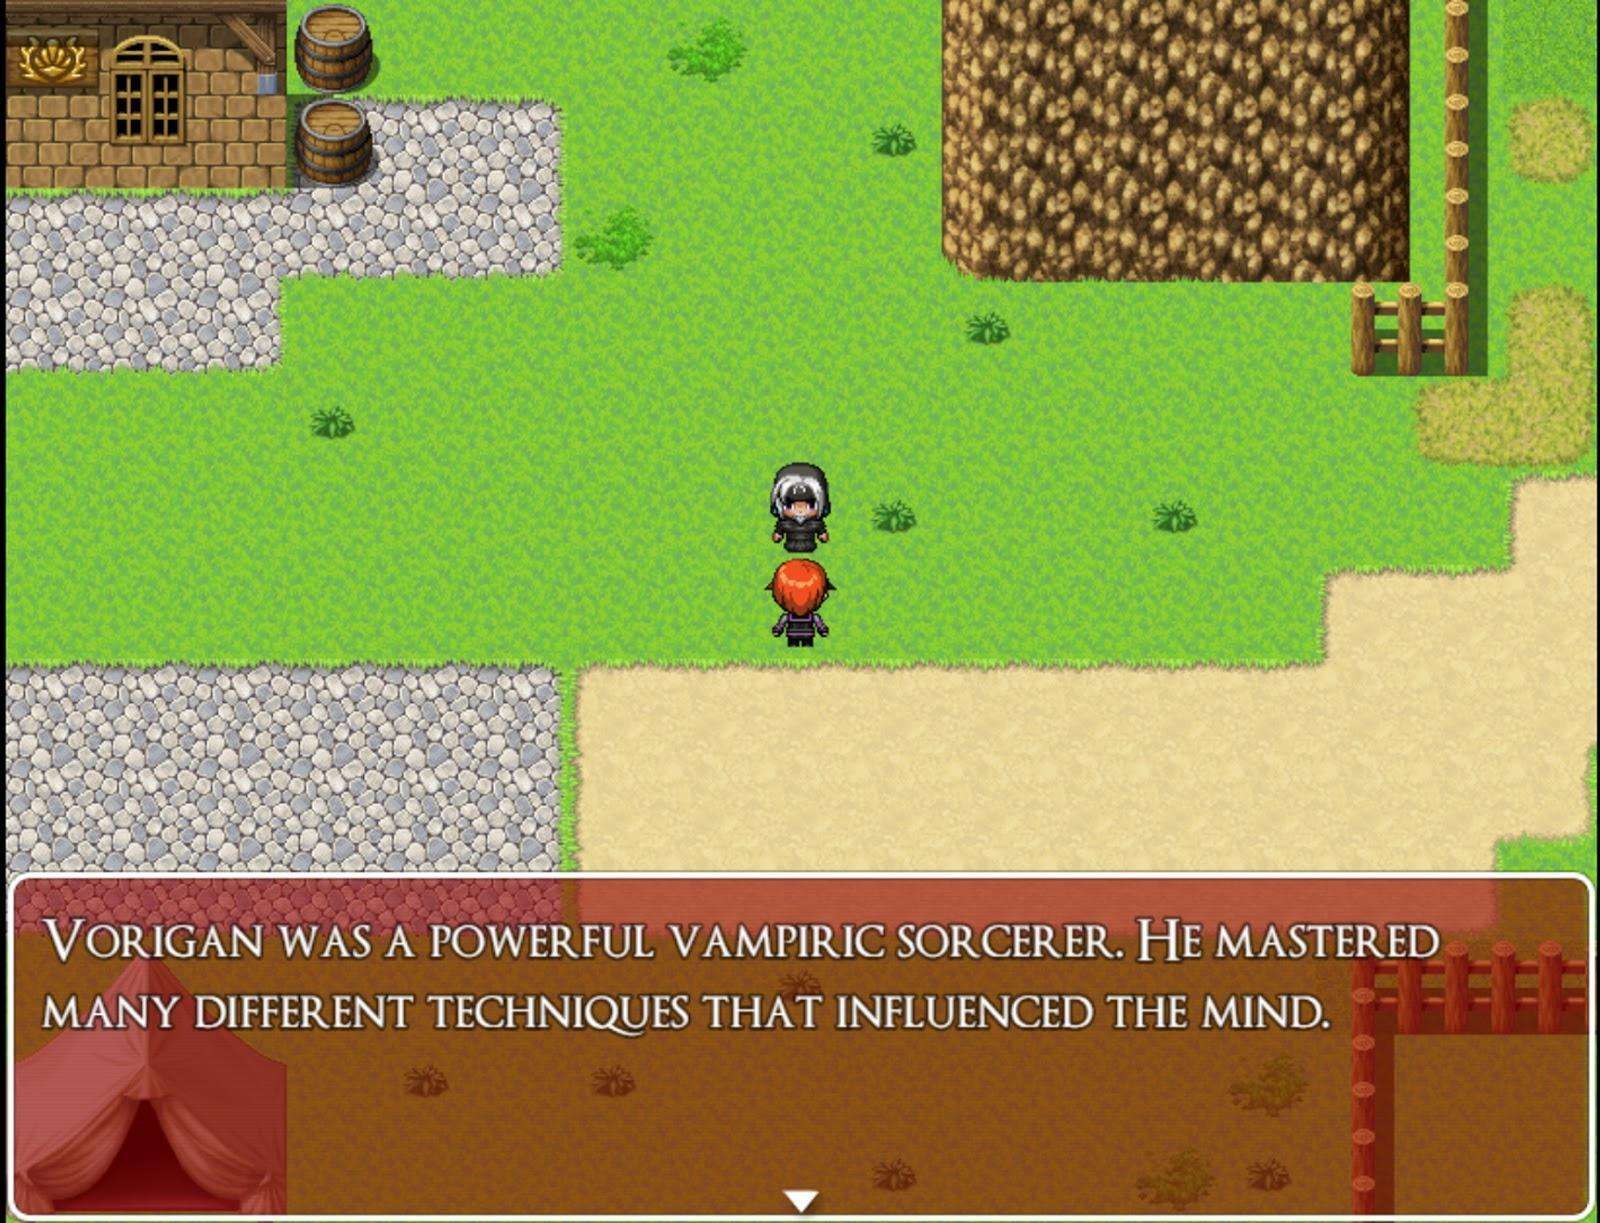
In Mor Town South, you can find an NPC that will tell you about cursed vampire equipment. Once you have collected all 4 pieces, you can return them to him and he will destroy them. In exchange, you will be rewarded with Pic 45 for your Picture Gallery and Count Vorigan’s Cane, a very useful item that acts like using a liquid silver toward all undead enemies! It’s reusable too, so feel free to sell off any Liquid Silver you have as they have just become irrelevant! Keep in mind that if you choose to ignore the man’s warning about the equipment being cursed and decide to wear all of the equipment, you will get a bad ending instead and become Count Vorigan’s newest servant.
The locations for each piece are:
- Vampire Cape: Dining Room Basement in the Abandoned Manor (Humilem Village)
- Vampire Boots: By the large tree in the center of the Forest Maze (Rotten Grove)
- Vampire Corset: Trap Room (Blood Temple)
- Vampire Headdress: Third Guest Room on the right (Dorian Manor)
A Major Wager
- Availability: Chapter 3 after reaching Fallholt and completing contract 4
- Recommended Hunter Level: N/A
This casino area is a diversion you can spend some time on to earn gold or exclusive items. If you have the patience or get lucky, you can win the Critical Whip here, which is a whip that is guaranteed to land a critical hit, if it lands. Additionally, power ups like laurels and ammo pouches can be earned here indefinitely.
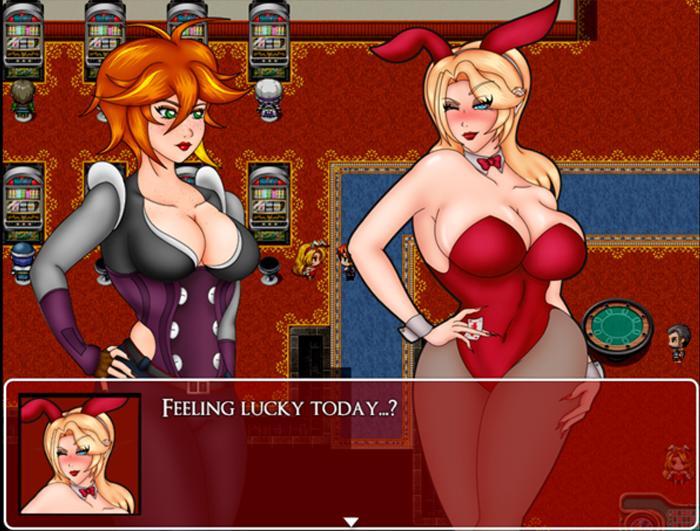
Speak with the blonde bunny girl at the entrance to receive the Casino Coin Purse and 100 Casino Coins to get started! With this, you will be able to collect and track how many coins you have collected at the casino. Use it directly from the menu. Once the bunny girl leaves you can start playing the slot machines. The machines on the bottom row are single coin machines while the top row are ten coin machines. Speak with the same bunny girl and she will tell you that if you earn 500 coins while playing, she will show you a backroom where higher stakes gambling takes place. To help a bit, you can find 80 coins for free by checking the glowing area on the southeast end of the casino. You can also speak with Connor Card Caster for a game of Blackjack and the opportunity to win 1000 coins. This serves as a bit of practice for what’s to come…
Once you’ve either earned or purchased 500 coins (check the counter with the two bunny girls to purchase coins or cash out for gold), speak with the blonde bunny girl again and she will lead you downstairs to the private slot machine. She will ask you to try it out. Either play or refuse. Regardless of your choice, she will then want to play another game with you, a game with higher stakes.
It turns out that wasn’t your average bunny girl, but rather Aeriseth in disguise. She’s hungry for Mila’s soul but will give you a chance to fight back against her in a game of chance. You will have to face her in a game of blackjack. If you are unfamiliar with the rules, be sure you read them over as she explains them to you.
- Aeriseth
- Max HP: 9000
Despite this elder succubus’ high HP, the rules of this fight make that number somewhat irrelevant. All you need to do to defeat her is win three rounds of blackjack without losing three rounds first. You are unable to use healing items or any kind of skills that affect the parameters of the fight. Either select attack or guard and Aeriseth will begin dealing you a hand.
Once you’ve beaten her, Aeriseth will assist you in battle by giving you the Summon Aeriseth Skill. Not only does she swear her loyalty to you, but you also Pic 48 for your Picture Gallery! One last thing to note is if you speak with Aeriseth upstairs, she will give you the Bunny Girl Ears, which increases the odds of winning at the slot machines while you are wearing them. You can also choose to go downstairs and rematch your succubus servant to a game of blackjack, for a bit of fun.
Turned into a Bunny Succubus
- Availability: Lose the card game against Aeriseth
- Recommended Hunter Level: N/A
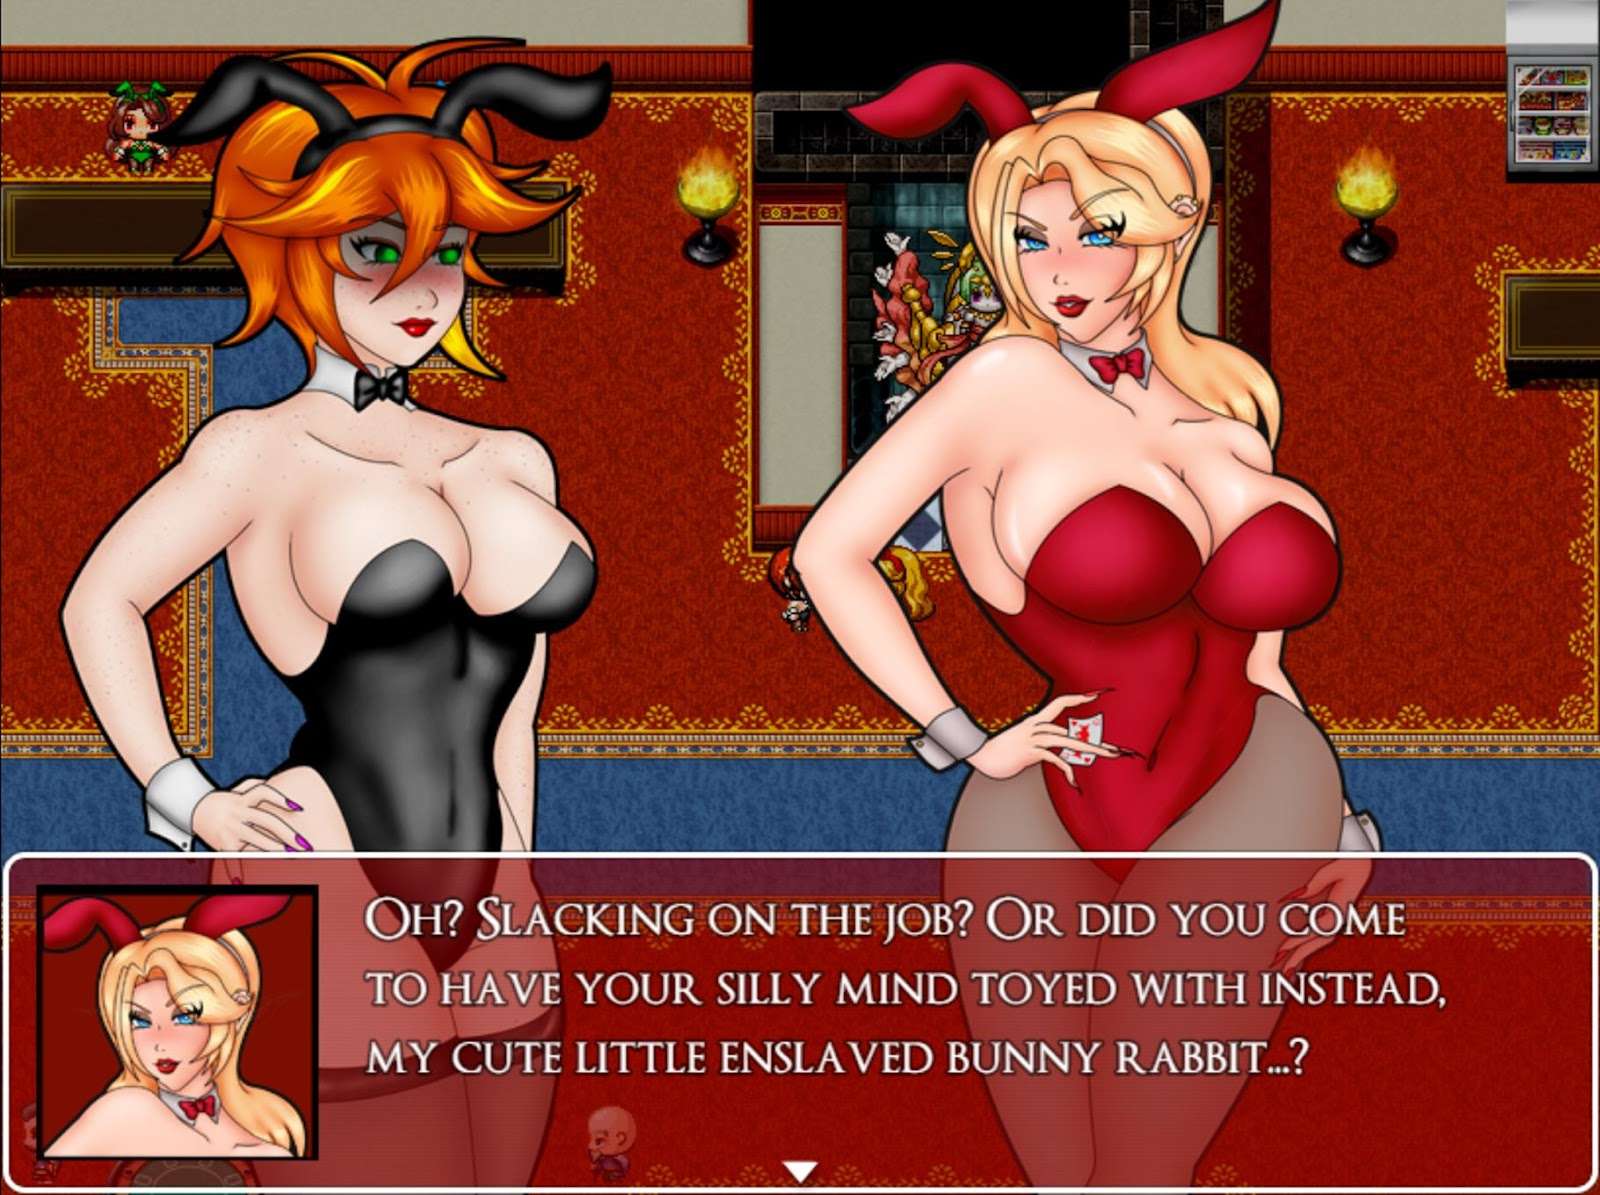
So, you lost the card game against Aeriseth. Your luck has caused Mila to spend the rest of her days as a lesser succubus under the dominance of her new mistress. Aeriseth will task you with helping out the waiting staff. You can get a short scene of Aeriseth dominating Mila’s mind by speaking with her again. Otherwise, speak with the green bunny girl near the tables. She’ll explain to you your job and then 3 npcs will call you to order something. Speak with all three of them first to get their orders and then speak with the bartender on the right side of the wall. He will only hand you 1 drink, so you will need to pick the drink of the customer you wish to service. Each of the customers you select will give you a slightly different bad ending.
Slime Cave
- Availability: Chapter 3 after reaching Fallholt and have Hunting Bow obtained
- Recommended Hunter Level: 7
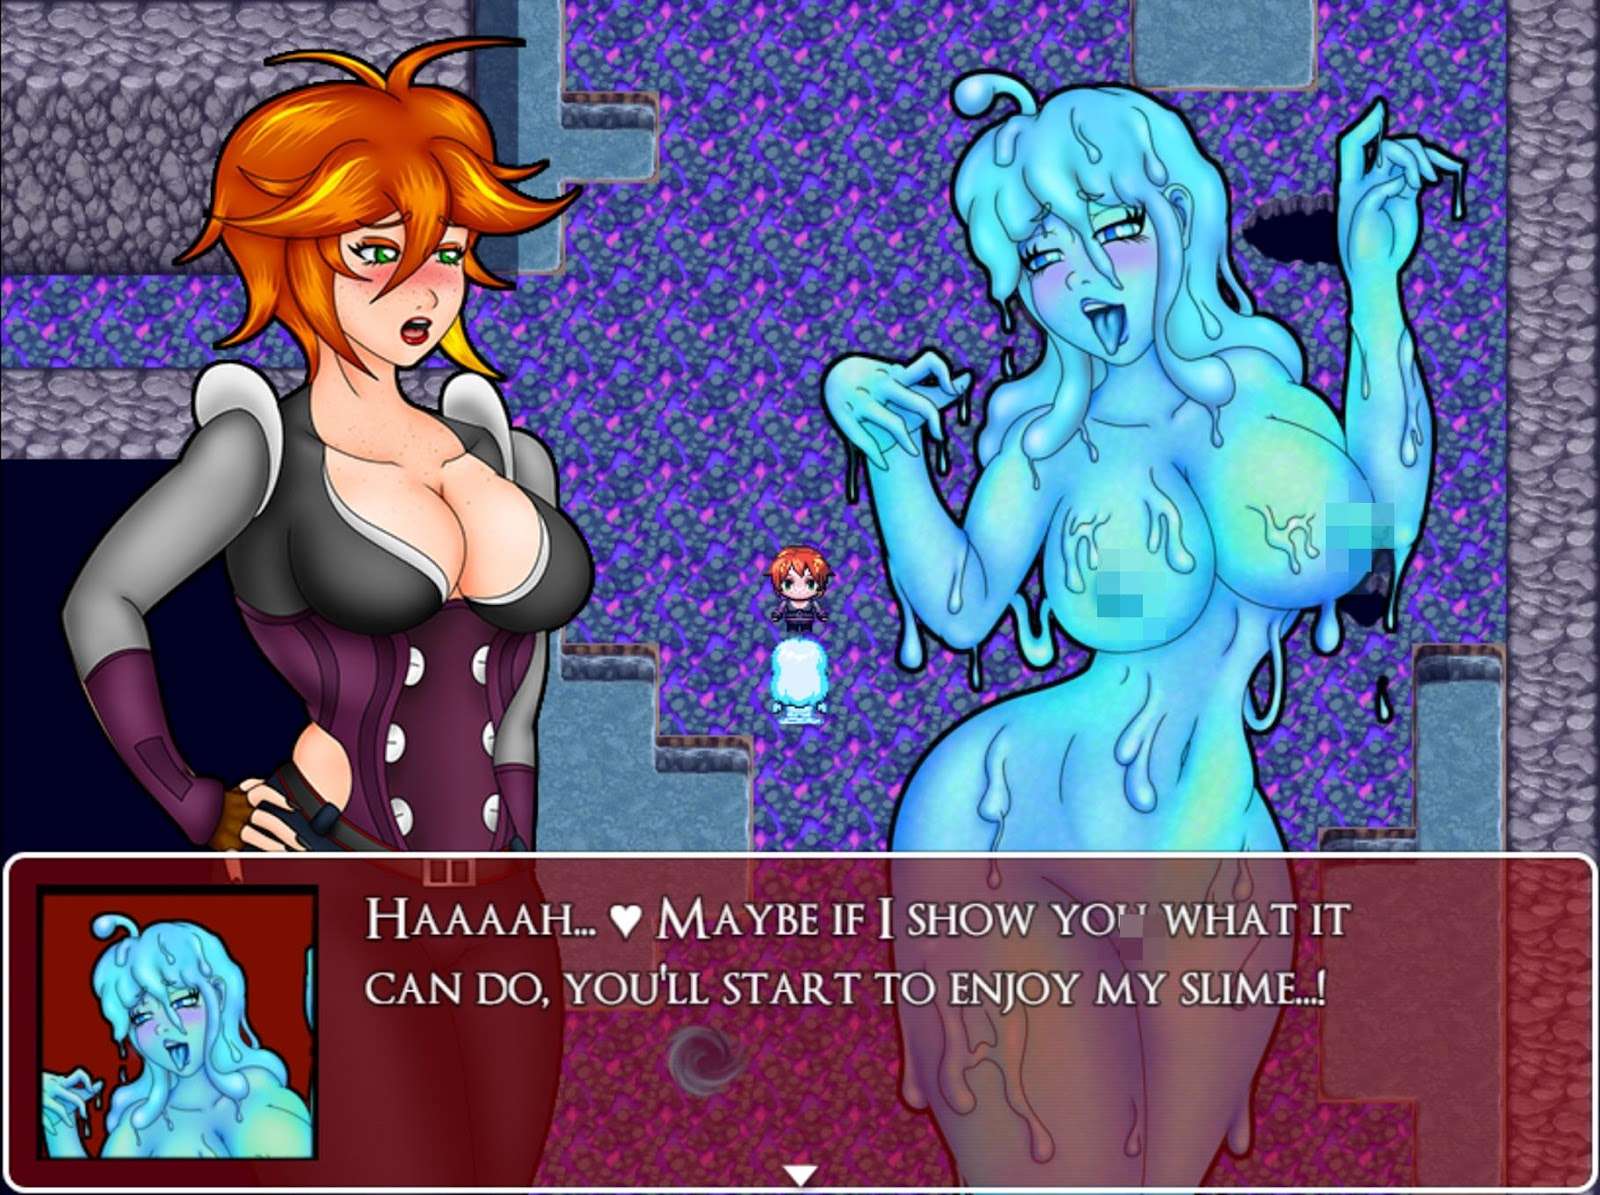
The Slime Cave is an area not tied to any specific side quest. You can enter and leave as you wish. There are some chests to find here. Explore the cave to find chests containing a Rubber Body Suit, 1200 Gold, and a Gold Crown, which doubles gold dropped by enemies! You can find regular slimes here which you can collect slime jelly from, but you can also fight slime girls who drop different varieties of slime girl jelly. Blue are common, pink are rare, and liquid metals are very rare.
If you spot a liquid Metal Slime Girl, be sure to try and beat it! It’s jelly is worth a whopping 10,000 gold if you manage to defeat it! Liquid Metal Slime Girls have incredibly high defense and speed. Only your regular attacks will damage it, doing a mere 1 damage. These slimes have 3 HP total, so you will need to successfully land 3 hits or get a critical hit to defeat it. Liquid Metal Slimegirls often run away so it will be a challenge to defeat one! Liquid Metal Slimegirls can be easily defeated if you manage to win the Critical Whip at the Casino in Fallholt! If you beat any of the slimgirls and collect their jelly, bring them to Jauffre and he will reward you with gold. The first time you do this, you will unlock Pic 47 for your Picture Gallery.
Turned into a Slime Girl
- Availability: Lose to a Slimegirl
- Recommended Hunter Level: N/A
If you are beaten by any of the slimegirls, Mila will be corrupted and transformed into one of them herself. Depending on the slime girl that defeated her, she will transform into one of three different varieties. There are a few differences in the dialogues of the slimegirls you interact with depending on which kind of slime Mila was turned into. There isn’t much to this section, simply go towards the entrance of the cave to see how the scene plays out.
Fenrir Glade
- Availability: Chapter 3 after reaching Fallholt
- Recommended Hunter Level: 12
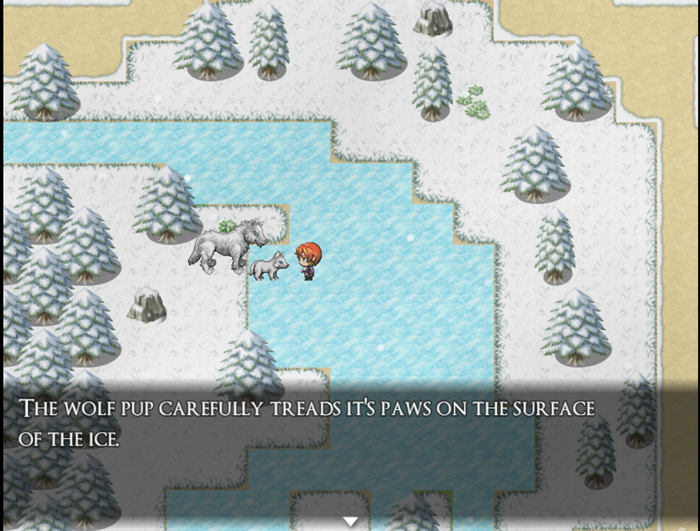
This forest is home to the Lycanthrope people as well as friendly wolves. Humans aren’t usually allowed in, but special cases are made for those who can prove their worth in battle. When you enter this frozen forest, you can find a chest to the right which contains a White Wolf Pendant, a decent accessory at this point in the game. Going north from here will lead you to a cavern. There is a chest outside of the cave containing 400 gold, but this cave will remain empty until you complete chapter 3. At which point, you can return here for an optional boss fight.
- Jaclyn
- Max HP: 6000
Jaclyn is a vampiric dominatrix living in the secluded cave which she has transformed into her own dungeon. She beckons you to join her, but if you refuse, you will be forced into a fight against her. Jaclyn is able to seduce Mila, entrancing her and making her incapable of making a move for 2-3 turns. She can also tease Mila and reduce her LP to 0, so try not to rely on LP skills such as purify too much in this fight. Defeating Jaclyn will earn you a Dominatrix Cap and unlock Pic 79 in the Picture Gallery.
From the entrance of Fenrir Glade, you head west to find two Lycanthrope Guards blocking your way. In order to enter, you will need to show your strength and defeat them both.
- Lycanthrope Guards
- Max HP: 1300 x2
The Cross skills aren’t particularly effective in this fight. While they do hit both enemies, both of the wolf girls resist Light type skills. You are better off taking them out one by one. The Dagger skills do tremendous damage to Lycanthropes due to their silver weakness. Axera also does solid damage, if you have the skill at this point in the game. Defeating them grants you access to Crescent Village and there are lots of goodies to grab here!
The main draw of this village is the tent with the torches in front of it. Here you can turn the gems you have collected throughout your fights and use them to upgrade your equipment! Speak to the lycan girl to the left for a full rundown, but be sure to take advantage of this useful feature while you are here!
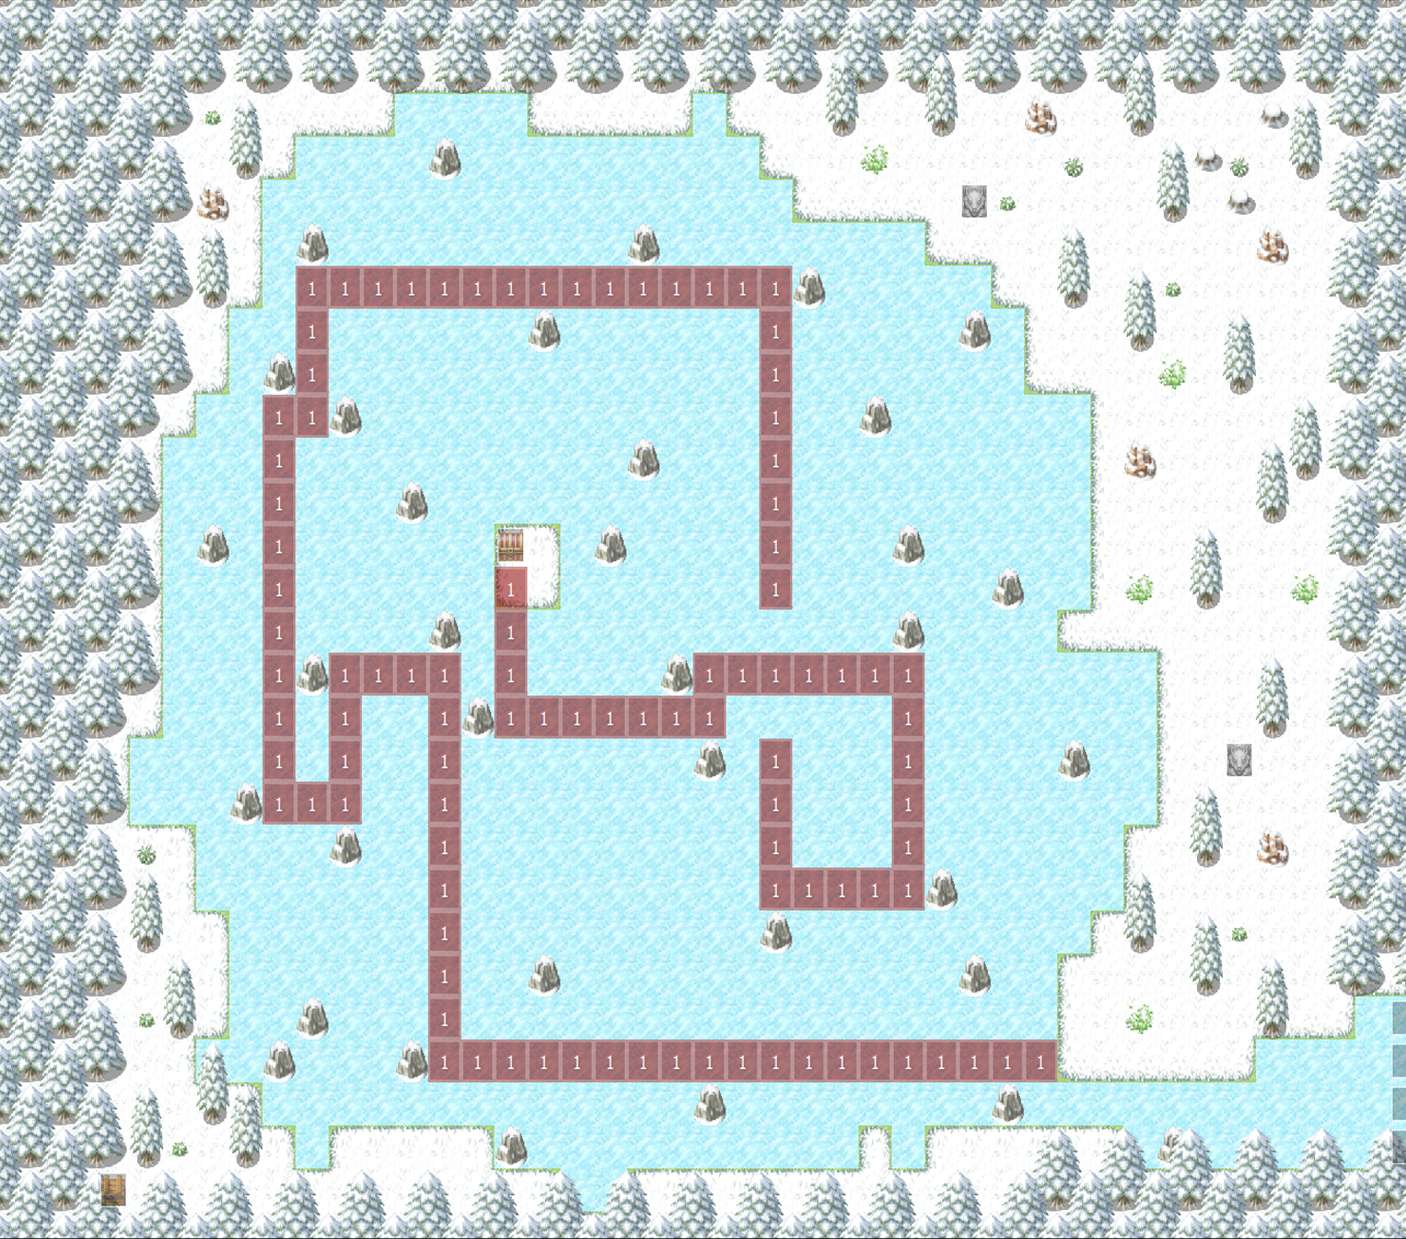
Inside the village, speak to the red haired lycanthrope by the cooking spit to receive Cooked Rabbit Legs. Check the barrels in the north to collect 120 gold and a Garnet. Check the barrels inside the tents for 40 Gold, an Amethyst Shard, a Garnet Shard, and a Moonlite Tea. In the playground area to the left, there is a chest containing an Ammo Pouch as well as a young Lycanthrope girl who may become a relevant character at some point in the story… Finally, if you follow the frozen river to the west of the village, you will reach Fenrir Lake, which contains a sliding puzzle with a Diamond Shard as it’s reward. There’s multiple solutions to this sliding puzzle, but here is the one I found:
The Queen’s room is inaccessible until you return her for a contract that is unlocked after completing Chapter 3.
Records of a Bookworm
- Availability: After completing chapter 2
- Recommended Hunter Level: N/A
(If you spared Bianca on both occasions, you will need to have completed the side quest “The Heart of the Library” before this quest becomes available.)
This prequel story can be found by reading the shining book located in either the Cliffside Library Lobby or Faye’s laboratory, the same room where you fought her. Once you begin reading, you will be put in the shoes of Bianca. Since this quest is primarily story based, I’ll only be covering the short bits of gameplay.
Once you are in control of Bianca, leave her home to watch a cutscene with two mean girls. From there, head into Mor Town West and speak with the blonde woman to start another scene. The woman will leave and you will receive the Harvest from the farmer, Mr. Winkler. He informs Bianca to follow the blonde woman, named Mrs. Sauer, in regards to getting a job at the Cliffside Library. Follow her to Mor Town North and speak with her. After getting the information, you can return to Bianca’s home where her Grandmother is waiting for her outside. She’ll snap a picture of Bianca and hand it to her as a souvenir. You’ll receive the Photograph item which you can still view as usual.
After the scene of Bianca and her Grandmother speaking about the library reopening, you’ll have control of her again. This time your objective is to make it all the way up to the Cliffside Library. The woods are brighter and there are no enemies to deal with at this time. There are also no items to be found, so exploration isn’t necessary. Just head up to your destination. Once at the Library, speak to the Librarian for a series of cutscenes that connect to one another. You will regain control of Bianca briefly at her house. Leave her house to continue more scenes. You’ll once again regain control at the library. You can try and interact with the dragon statue for a quick gag, but speak with Mrs. Sauer to continue.
When you regain control of Bianca, you will be outside of the Library in the pouring rain. You now need to make your way down the mountain. The catch is, there are now ghouls blocking your path. You can easily escape from them if they catch you, but you can get surrounded by them in the narrow paths if you aren’t careful. Ghouls only attack, so you don’t need to worry about them inflicting the vampirism status on you. You can also enter the cave from which the Ghouls emerged from. This is the small vampire lair we know from the main story, but there is a deeper cave not normally accessible here. If you choose to enter it, know that it will result in a Bad Ending. Maneuver your way around the ghouls heading toward the exit to the overworld. You’ll run into Iris and she will take you to the Mor Tavern for a few drinks.
Bianca has a few too many drinks and when you regain control over her, she’ll be rather loopy and slow. If you speak to the last man at the counter, you will get a Bad Ending if you accept his proposal. Otherwise, exit the bar and walk back towards Bianca’s house. There will be a long string of cutscenes that play into each other, culminating in Bianca’s inevitable turning. Once the scenes end, you’ll be in control of a naked, bitten Bianca who must now obey her mistress’ call. Walk to the coffin room downstairs and speak to the librarian for more scenes. Finally, you will have control of Bianca one last time and all you need to do is exit the room you are in and watch the last cutscenes. After the scenes, the quest is complete and you will unlock Pic 55-63 for your Picture Gallery! If you ever want to replay this quest, you can simply read the diary again at any time.
Bianca’s Request
- Availability: Only if you did not slay the Bookworm at any point and after completing the “Records of a Bookworm” quest.
- Recommended Hunter Level: N/A
(The reward for the quest can also be obtained if you killed Bianca, though you will still need to complete the “Record of a Bookworm” quest before you can claim it.)
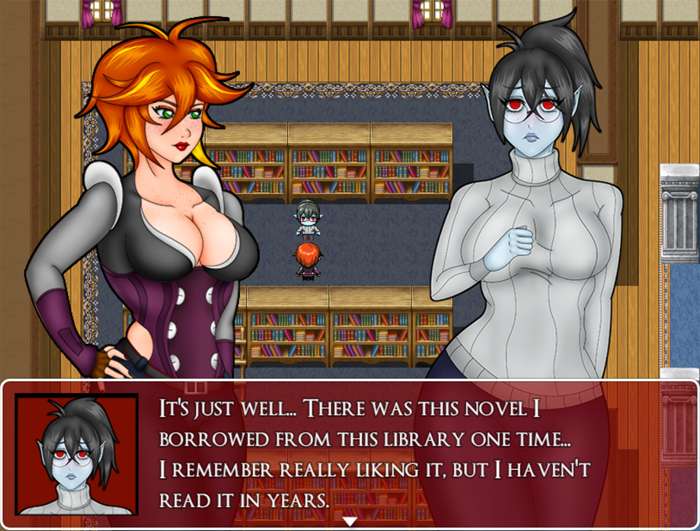
After reading the diary, speak with Bianca. She will mention to you that she is looking for a novel that she hasn’t read in years and would like to again. Unfortunately, the book was checked out of the Cliffside Library and she has no way of going out and getting another one. You are tasked with finding her a copy!
This quest is simple enough. Once you have reached Fallholt Castle, go to the library there and speak with the maid at the lower left corner of the library and she will provide you with the book. Simply return it to Bianca and she will hand you a combat manual that will earn you the Knifega Skill, the highest level knife skill!
If Bianca is dead, go to the library in Fallholt Castle after completing the diary quest and defeating the Chapter 3 boss. Speak with the maid looking at a bookshelf near the middle of the room and she will hand you the same combat manual.
Bianca’s Second Request
- Availability: After completing the “Bianca’s Request” and have reached chapter 4
- Recommended Hunter Level: N/A
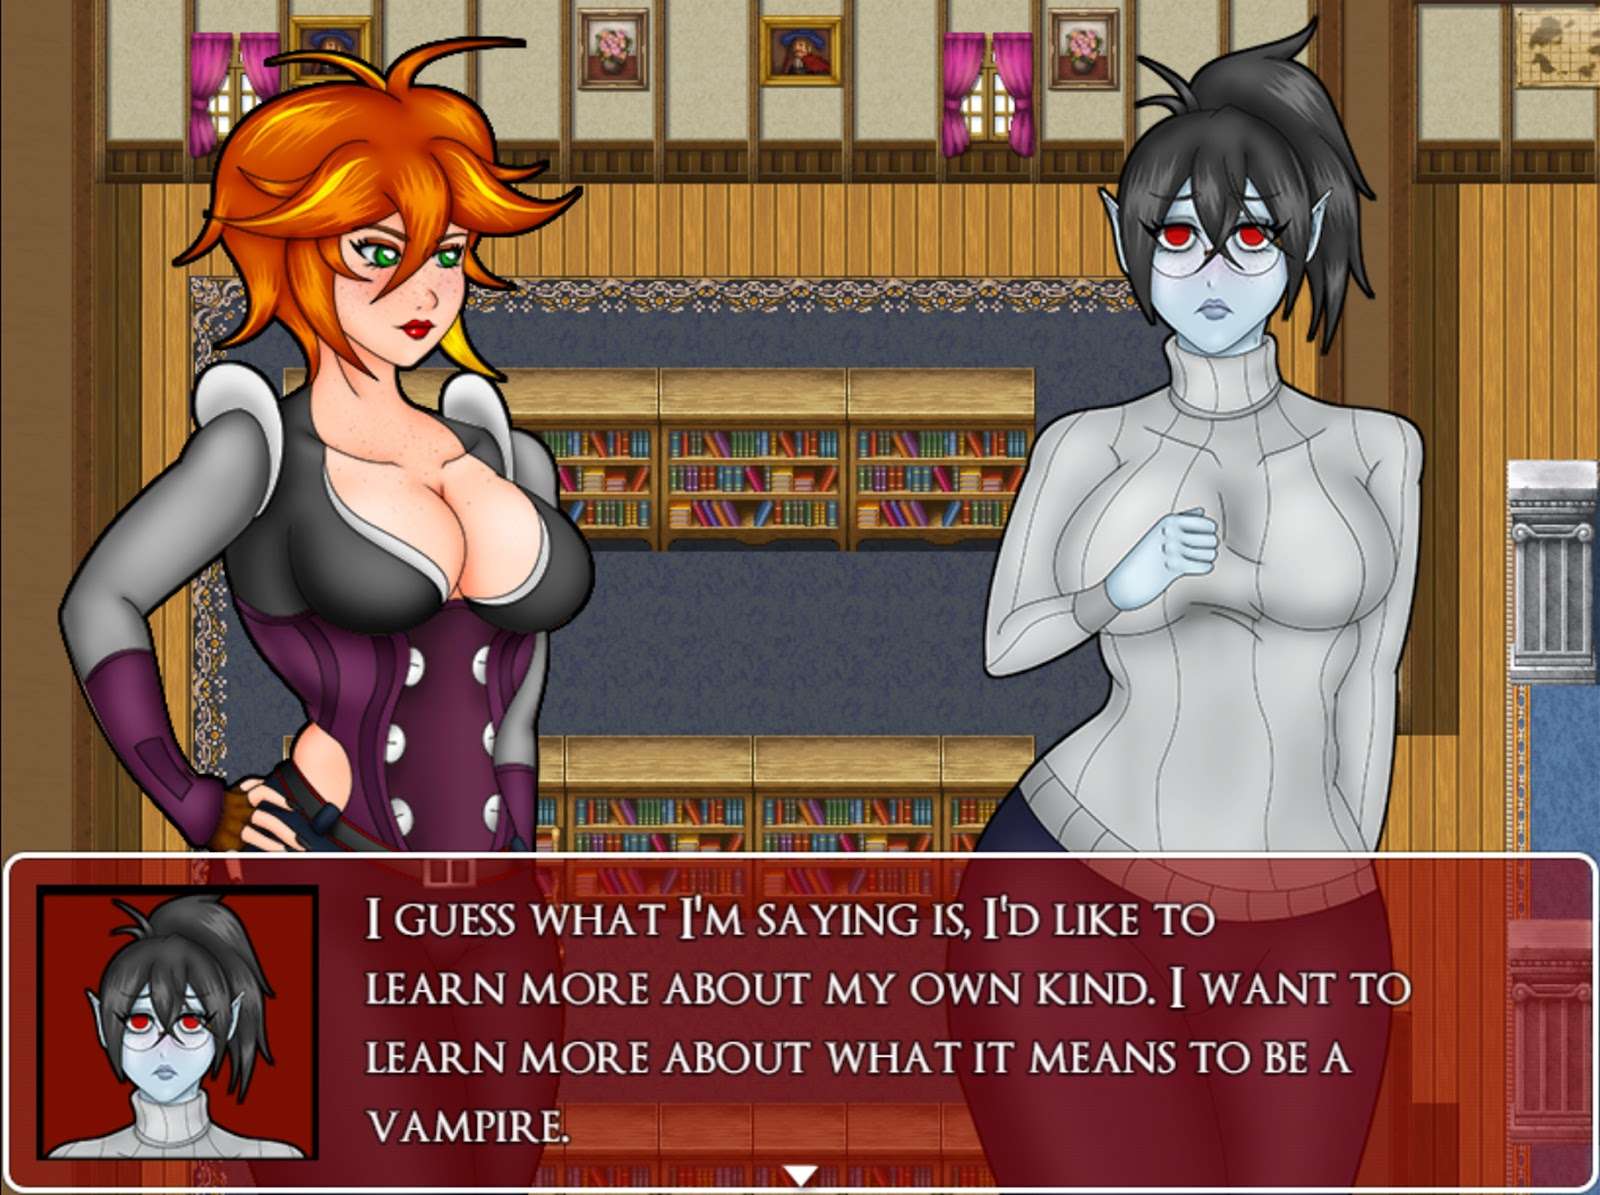
Speak to Bianca at the Cliffside Library to find out that she is a bit down. She wants to learn more about being a vampire and tasks you with finding a record of an older, experienced vampire. You can find one in the library of Dorian’s Manor (view the sidequest “A Simple Delivery” for more details). Records of the Dracul can be found sitting on a table in the library. Take it back to Bianca and she will reward you with another book which when read grants you the powerful Bombga skill!
Bianca’s Final Request
- Availability: After completing the “Bianca’s Second Request” and have reached chapter 5
- Recommended Hunter Level: N/A
The final quest tied to Bianca is really more of a formality. If you’ve done everything else to reach this point, you’ve done your fair share of backtracking. All you need to do to complete this quest is agree to go with Bianca to visit her grandmother. Once you view the scene, you will be rewarded with the Light Skill Compassionate Soul + along with Pic 110 and 111 in your Picture Gallery!
The Rocky Relationship
- Availability: Multiple Points from Chapter 1-3
- Recommended Hunter Level: N/A
Jessica is the central focus of contract 12, but she can actually be interacted with at several points in the story before then. While there are no tangible rewards for viewing these scenes, dialogue in contract 12 will change slightly depending on which scenes you viewed before then. Here I will list all the locations and times when you can view each scene.
- 1 Mor Town Center. Available until the first contract is accepted.
- 2 Mor Town West. Available from defeating the librarian until Faye is defeated.
- 3 Mor Town North. Available after defeating Faye until the start of chapter 2. Viewing this scene alters future dialogue!
- 4 Mor Town East. Available from the beginning of chapter 2 until you enter Humilem Village.
- 5 Mor Town Flower Shop. Available from first dialogue with Viviene until the vampires appear in Humilem village.
- 6 Mor Town North. Available after beating Viviene until the end of chapter 2. Viewing this scene alters future dialogue!
- 7 Fallholt Cathedral. Available from the arrival in Fallholt until after the first visit with Princess Anja.
- 8 Fallholt, Residential Area. Available after the first scene with Princess Anja until the Castle is swarmed by vampires.
- 9 Fallholt, Behind the Cathedral. Available while vampires are swarming the castle until Charlotte is defeated. This scene includes a fight and a unique bad ending. Viewing this scene alters future dialogue!
A Bat out of Her Element
- Availability: After Chapter 3
- Recommended Hunter Level: 22

Pull up to Mor Town Tavern and speak to the woman right by the entrance to the contracts room to receive this quest. She’ll task you with taking down a Baitelle, a sort of bat harpie. She tells you that it can be found in the Rotten Grove, but not specifically where. That’s where I come in!
The Baitelle can be found in the pond area of the rotten grove, just east of the forest maze. She’ll be fluttering above the first cliff so just interact with her to engage.
- Baitelle
- Max HP: 2250
The Baitelle’s primary gimmick is the ability to fly high into the air and strike down a turn or so later. This move gets over your guard skill, so be sure to cap off your HP with an item or skill to make sure the attack doesn’t take you out. The Baitelle can also fly high to recover some health, but will only do this when her health is low. The Baitelle is fast and hits pretty hard and while her bites can’t inflict vampirism, they are more accurate and daze Mila which can put you in a bad spot. Their main weakness is knife and dagger skills, so put those to use whenever you can. Thankfully, the Baitelle will still drop a Vampire Fang after it dies, despite not actually being a vampire. Return to the woman at the Tavern to collect your reward, a Deep Bloody Plate and a Moonlite Tea as well as Pic 97 and 98 for your Picture Gallery!
The Fall of Noctorna
- Availability: Lose to Gabrielle in Chapter 4 and become her underling
- Recommended Hunter Level: N/A
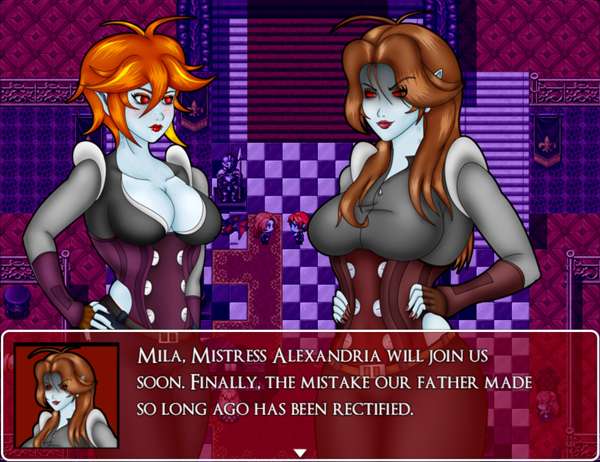
If you surrender to Gabrielle and accept her proposal to become her underling, she will oblige and you will be taken to a short scene where you corrupt the members of Noctorna, culminating in the return of Alexandria. All of the members will then be transported to Alexandria’s new castle and then you must speak with all of the newborn vampires to complete this bad ending.
The Forbidden Memory
- Availability: Castle Noctorna, once all Contracts and “A Simple Delivery” are complete
- Recommended Hunter Level: 85
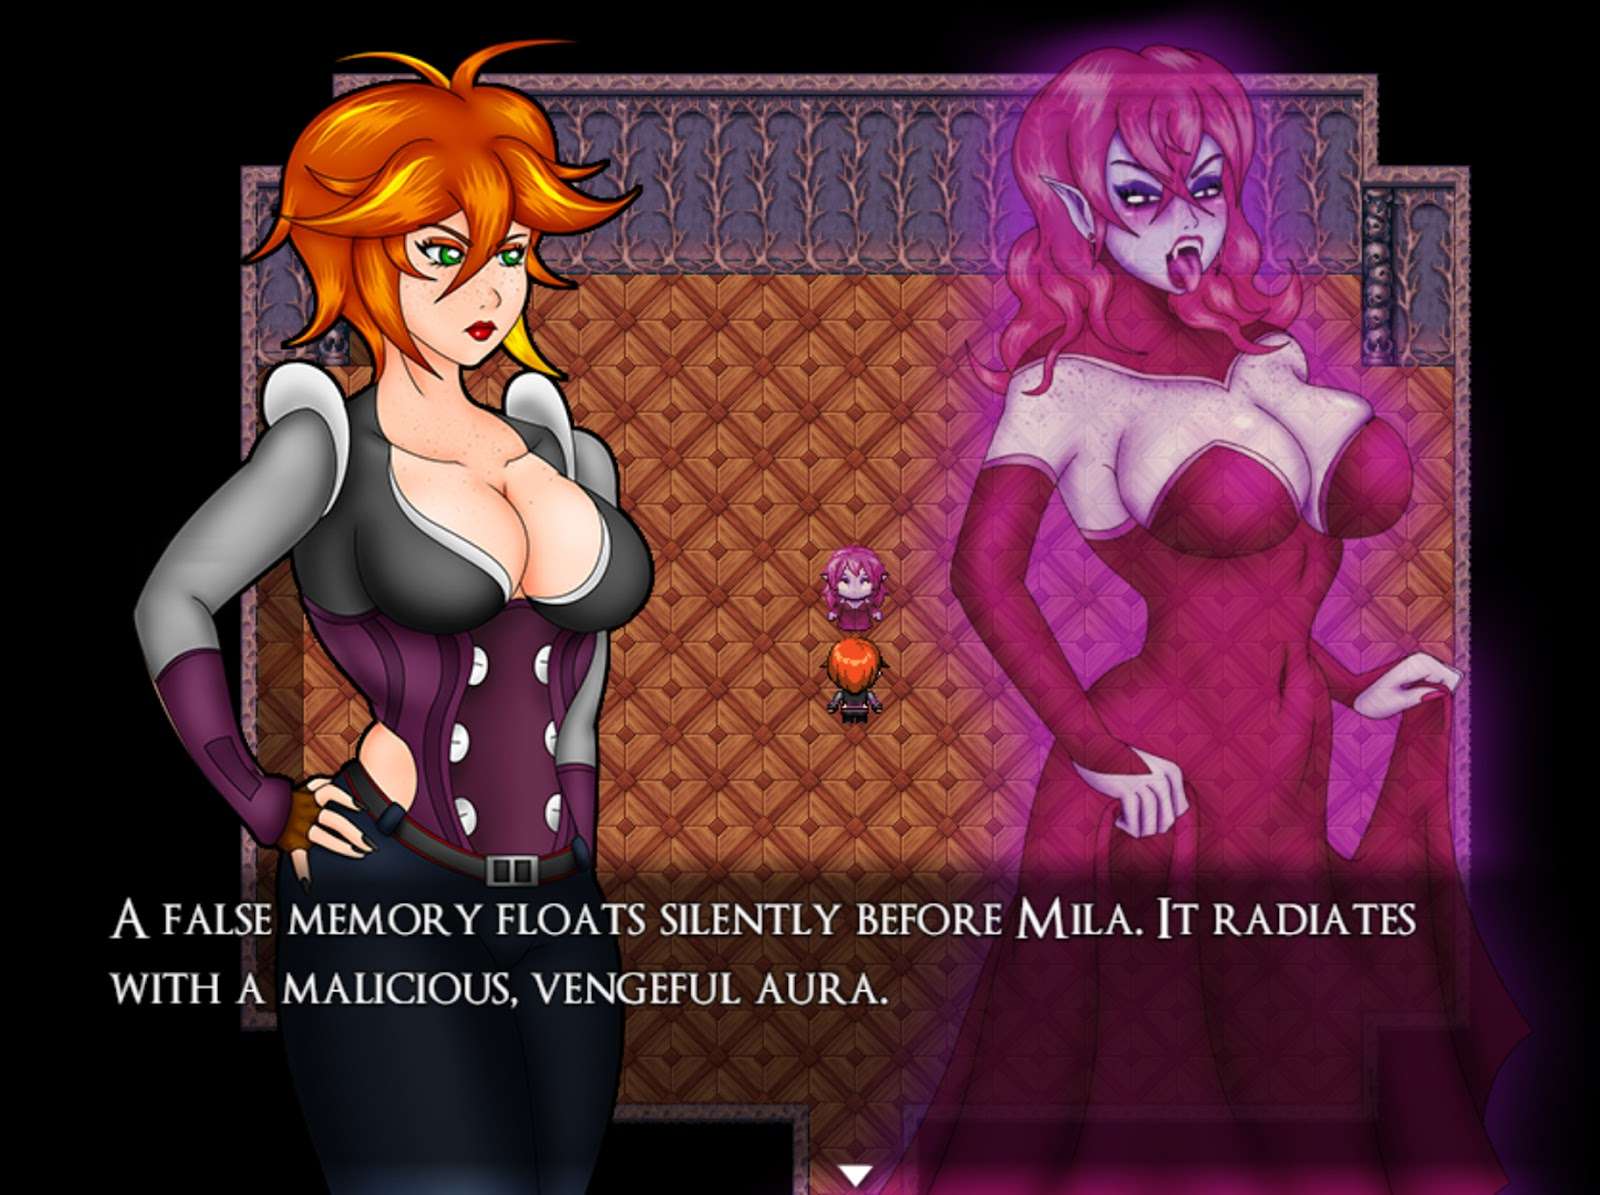
Throughout Castle Noctorna are several rooms with floating purple spirits. If you complete the spirit’s corresponding contract, it will instead become a False Memory. These are stronger versions of previously defeated bosses and you will need to defeat all 12 of them before you can face the game’s ultimate challenge. None of these enemies can be weakened or numbed, so don’t waste any of your turns trying to debuff them! The strategies for fighting them are much the same, (That means you must equip the Tin Foil Hat before fighting False Memory X). They have some new attacks, but nothing you haven’t seen before. I will be listing each False Memory’s location and strategy below:
- False Memory II
- Max HP: 16000
- Location: R.C-15
- False Memory III
- Max HP: 21000
- Location: AE-15
- False Memory IV
- Max HP: 17000
- Location: H.L-23
- False Memory V
- Max HP: 19700
- Location: F.C-21
- False Memory VI
- Max HP: 17000
- Location: F.A-17
- False Memory VII
- Max HP: 19500
- Location: E.E-6
- False Memory VIII
- Max HP: 17500
- Location: F.A-9
- False Memory IX
- Max HP: 20000
- Location: A.E-5
- False Memory X
- Max HP: 19500
- Location: A.A-7
- False Memory XI
- Max HP: 21000
- Location: F.A-21
- False Memory XII
- Max HP: 16000
- Location: T.A-23
- False Memory XIII
- Max HP: 20500
- Location: S.C-21
Once you have defeated the 12 spirits, return to E.E-16 where one last spirit waits for you. This is the game’s ultimate challenge, who is even more powerful than the final boss!
- False Memory I
- Max HP: 75000
Location: E.E-16 This False Memory hits like a freight train and will always strike thrice per turn.The fight is just like the Dorian fight, minus the first form. If your stats are high enough and you’ve got the right equipment, the False Memory will fall and you will be rewarded with the ultimate skill, Omnibright. This skill can make mince meat of nearly any enemy, including the final boss. The skill comes rather late to be truly useful, but it sure makes for a fun trophy!


Be the first to comment